

Blogodocious ramblings of a landscape photographer living in Maine.
Some favorite recent Iphone snaps from Boston, Cape Cod and Martha's Vineyard
I love shooting snapshots with my Iphone and Hipstamatic which I raved about here: http://nateparkerphotography.com/blog/2012/8/why-phone-cameras-hipstamatic-and-instagram-etc-are-totally-awesome it really puts the fun back into funtography. Ouch.
Of course we're all going to go out tomorrow and set up our sticks and shine on our filters and say that we're going to make a really important picture, like along the lines of the Eisenstadt Times Square VJ day kiss or something like that, but I would submit (getting off the track here a little bit) that the most important images that we as photographers will produce will be the one's of our loved ones. It's our job as photographers to shoot pictures, but sometimes when we (more properly reads: "I") get into the super serious mindset of making only "fine-art" imagery- only "important" images then I don't make enough pictures- pictures for fun like. So that's where your super cool cell phone camera comes in- I mean these mobile phone cams are arguably if not definitely better then the first "pro" model digital cameras that were on the market 12 years ago, they're ridiculously good! And throw into it the super awesome apps that give you a look, whatever it is, which does a better job at developing or post processing your images then the guy at the one-hour-photo did, then we should all be firing off as many shots as we can with these things! No tripod- no filter cleaning, plugging in the shutter release- settings -focussing, none of that: just making photos for fun. I can't even begin to imagine how good these little cameras are going to be another ten years from now. Holograms, tactile reference points, smell, sound, 4 dimensions- will all be passe' by then! Embrace the now people! Before it's too late!
Oh and one more thing- there's never any sensor dust! Yeah!! Here's some of my favorites from a week ago when I went to Boston and the Cape and Martha's Vineyard to see family and my buddy Garsh for Thanksgiving.
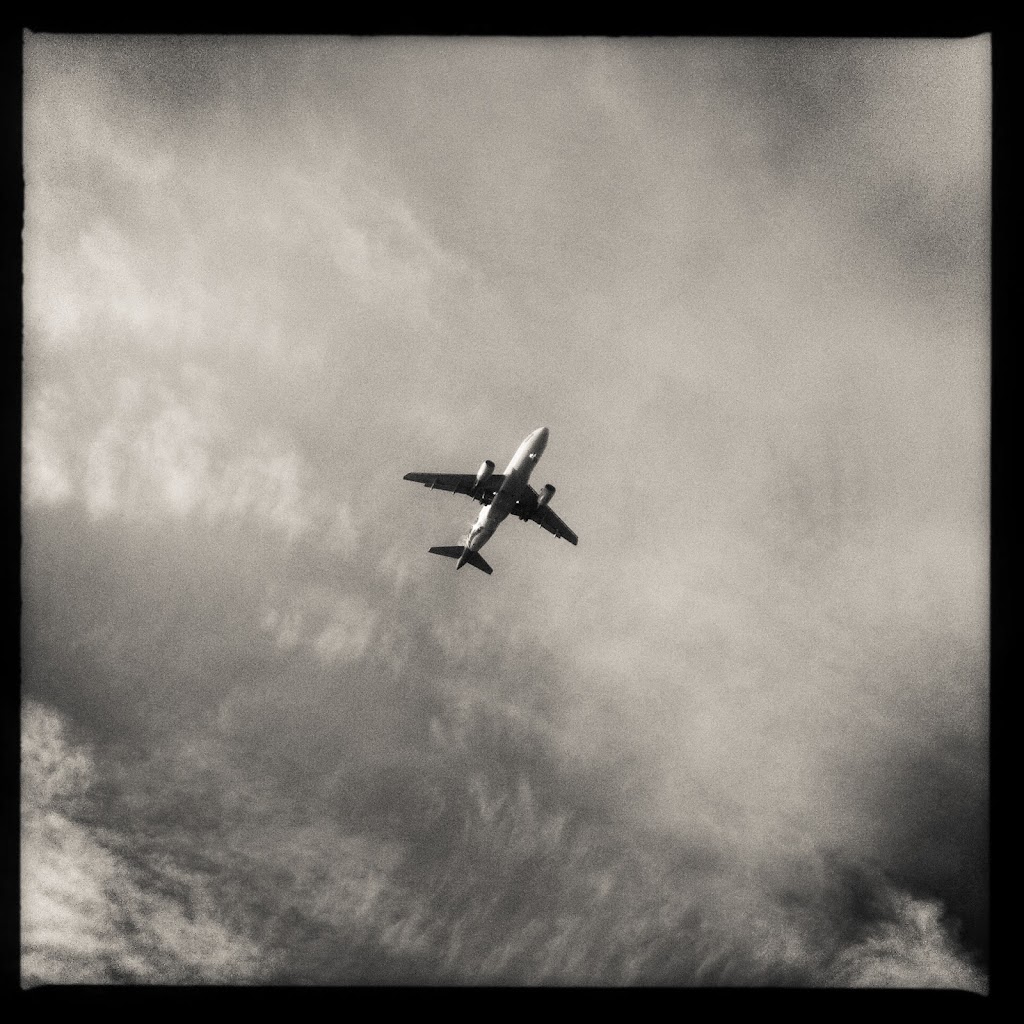
"Boston Jet"
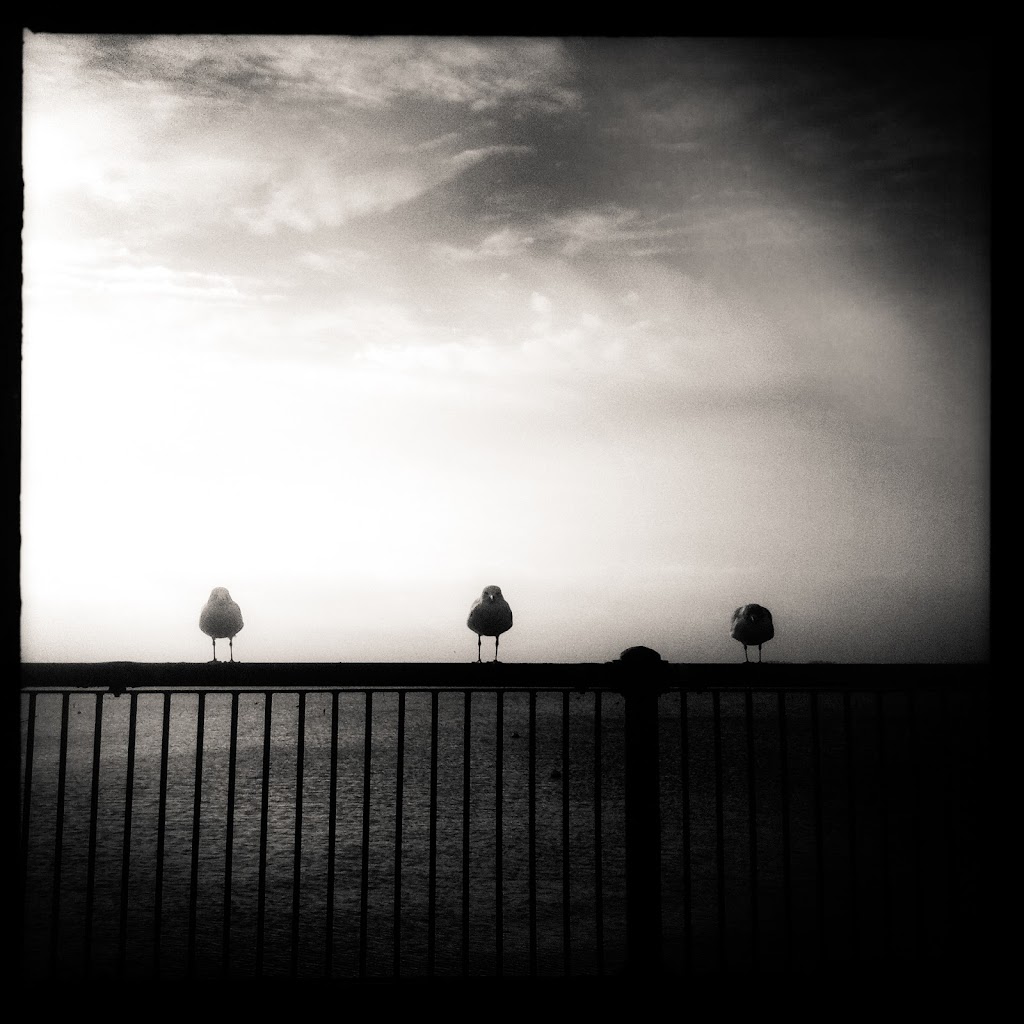 "Threegulls"
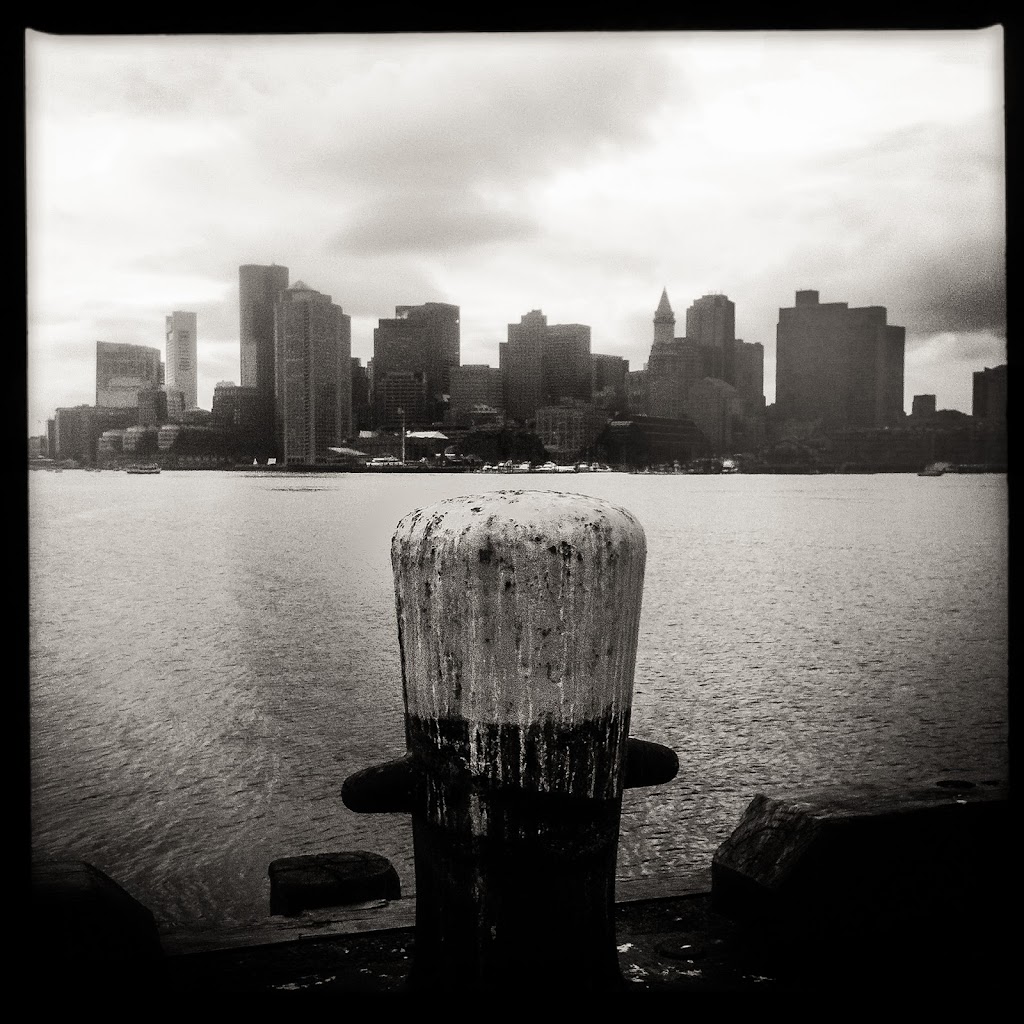 "Boston"
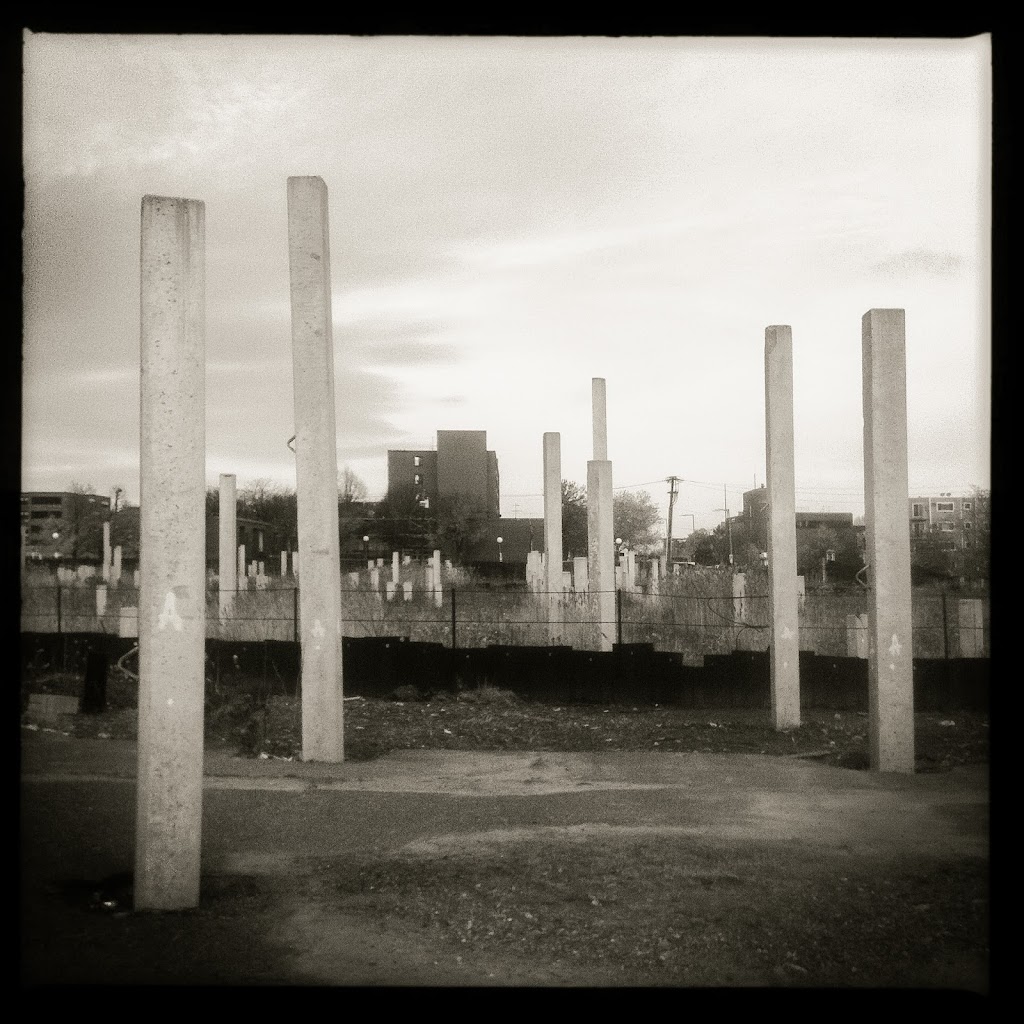 "A Weird East Boston Version of Stonehendge or Something?"
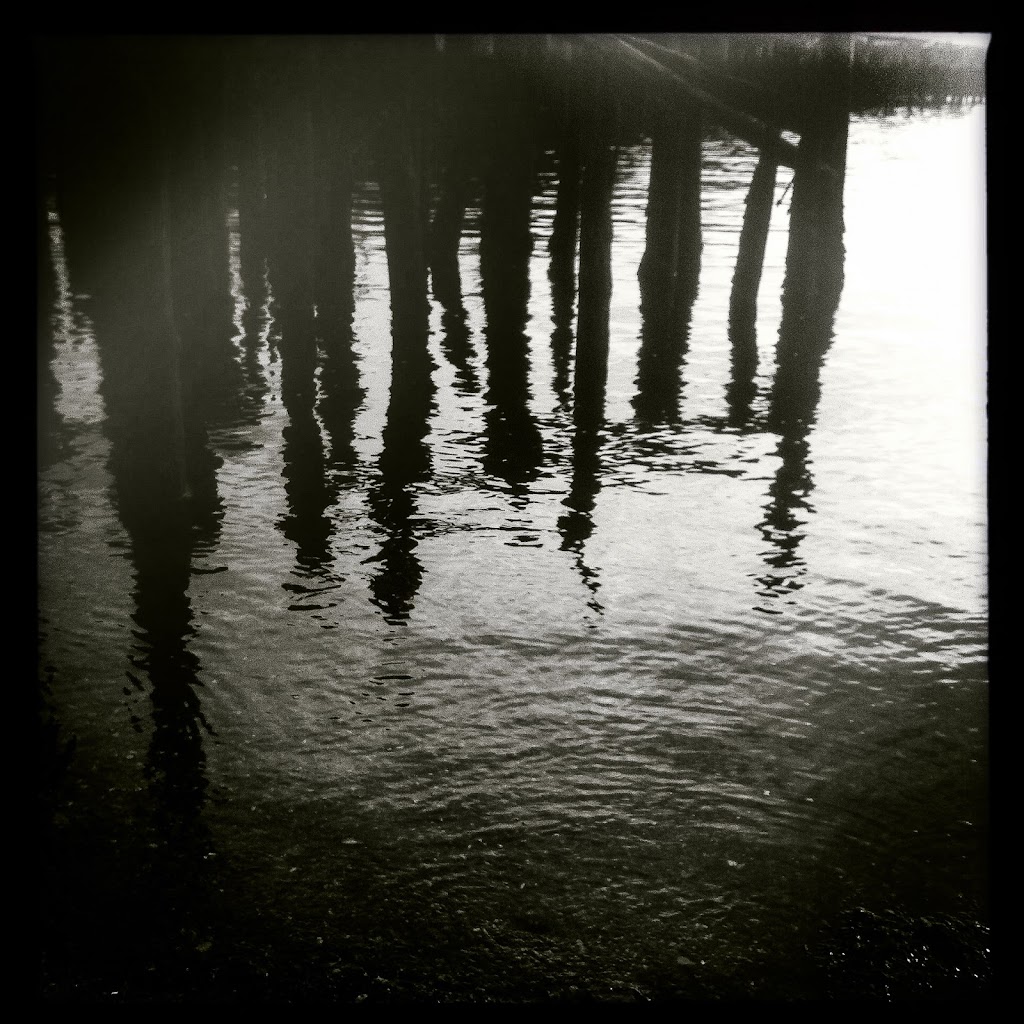 "Rotten Piers, East Boston"
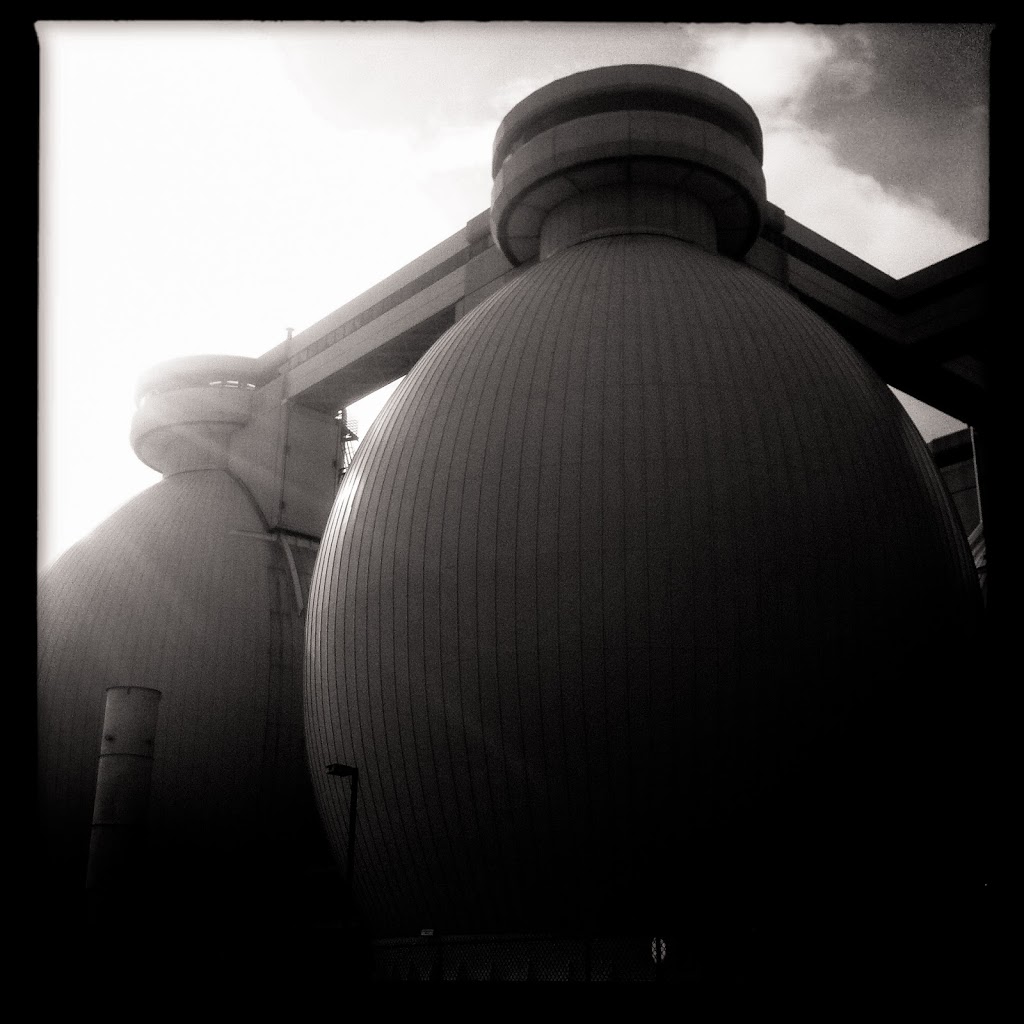 "140 ft Tall Gigantic Towers of Effluent at the Deer Isle Sewerage Treatment Facility in Boston Harbor"
 "Boston Fuel Trans"
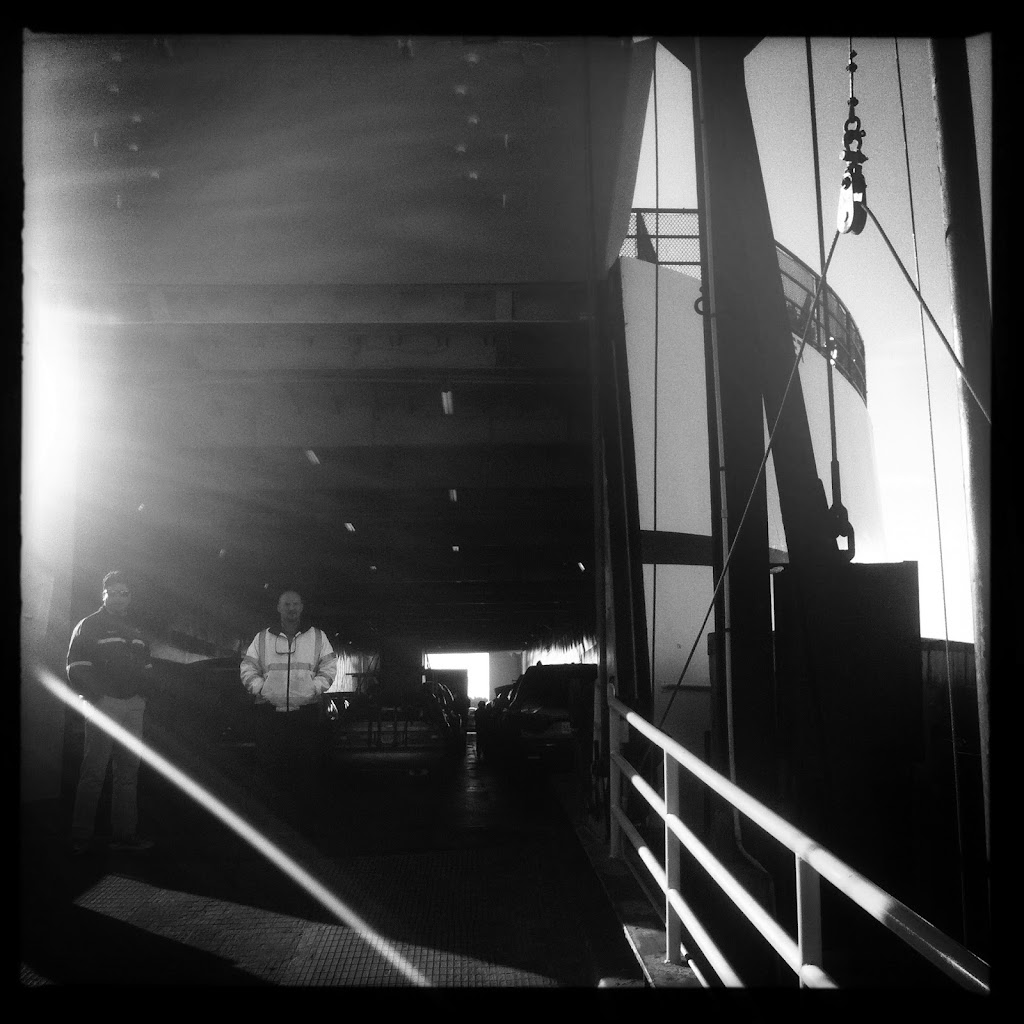 "Late For Martha's Vineyard Ferry"
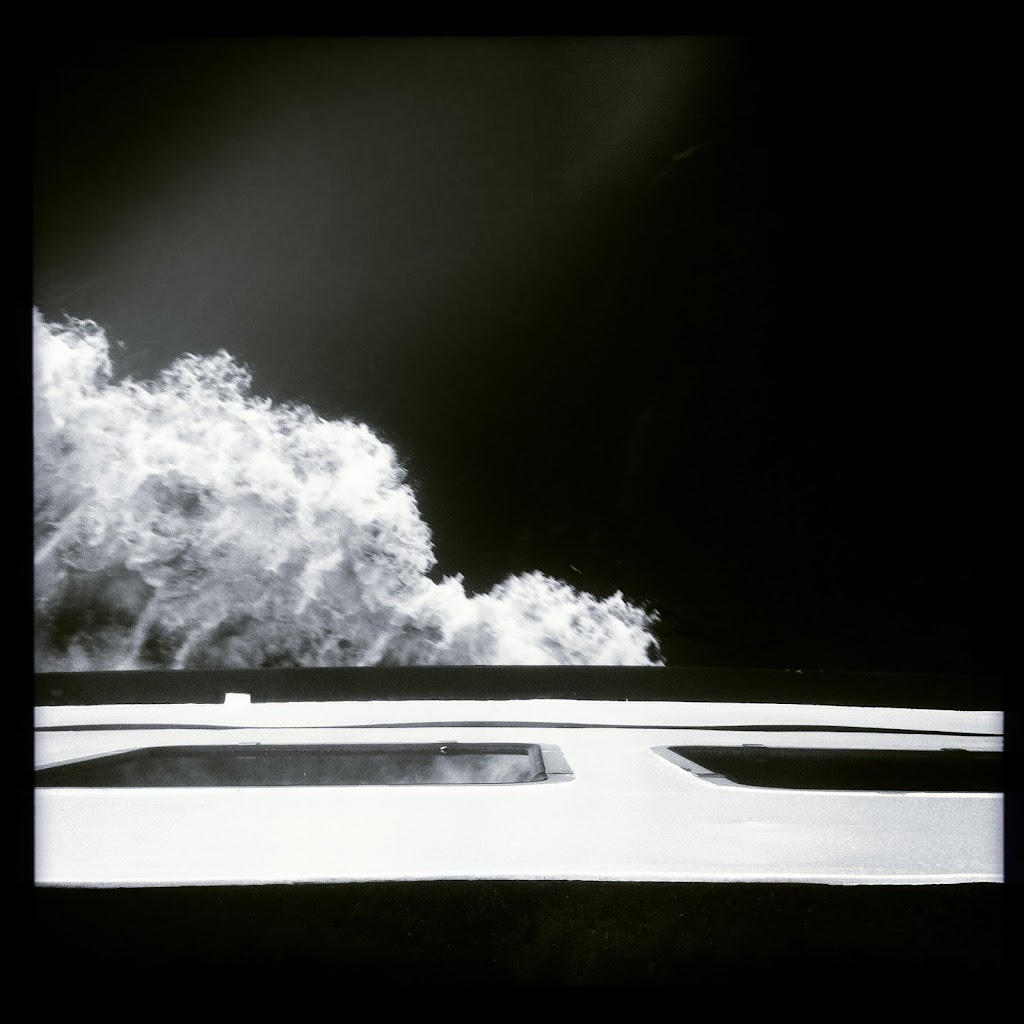 "Ferry Bow Wave"
"My Buddy Fargarshio Is Like "I Can Do That.""
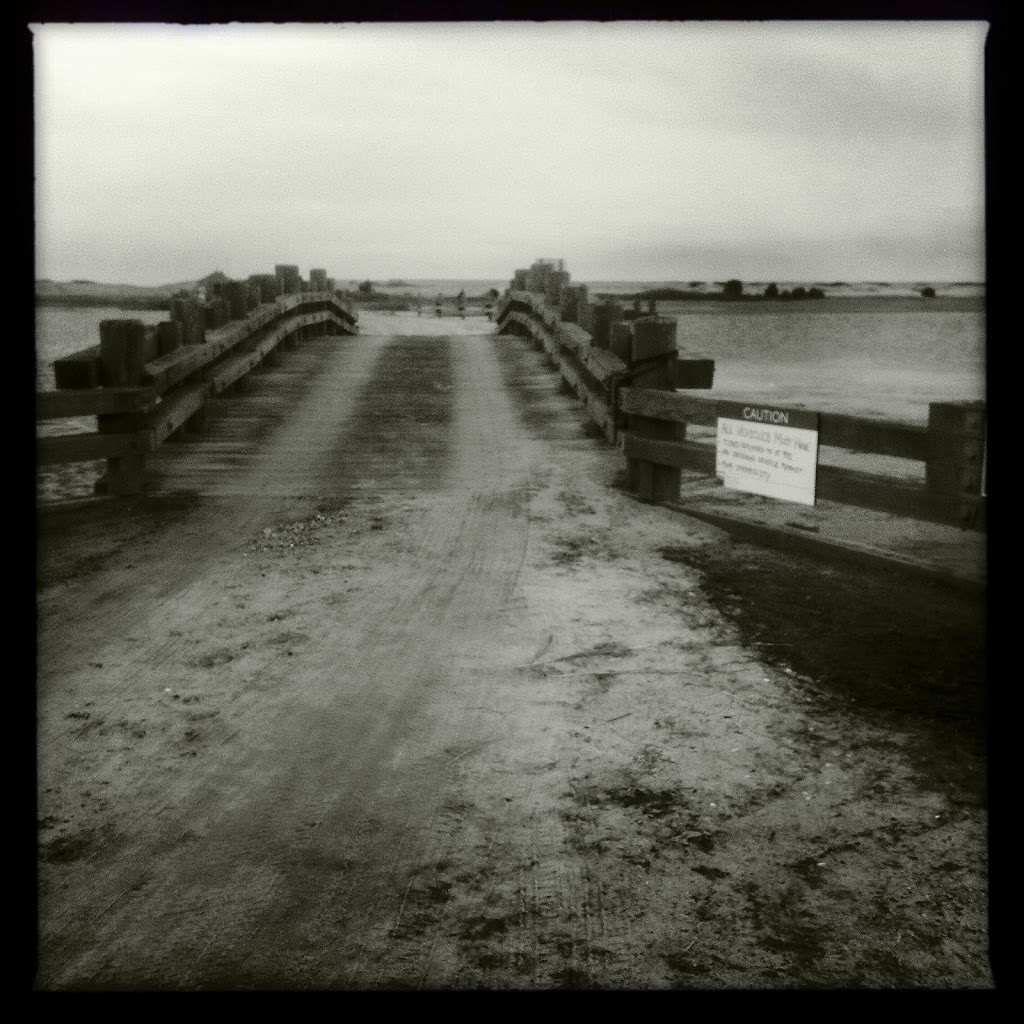 "The Infamous Chappaquiddick Bridge"
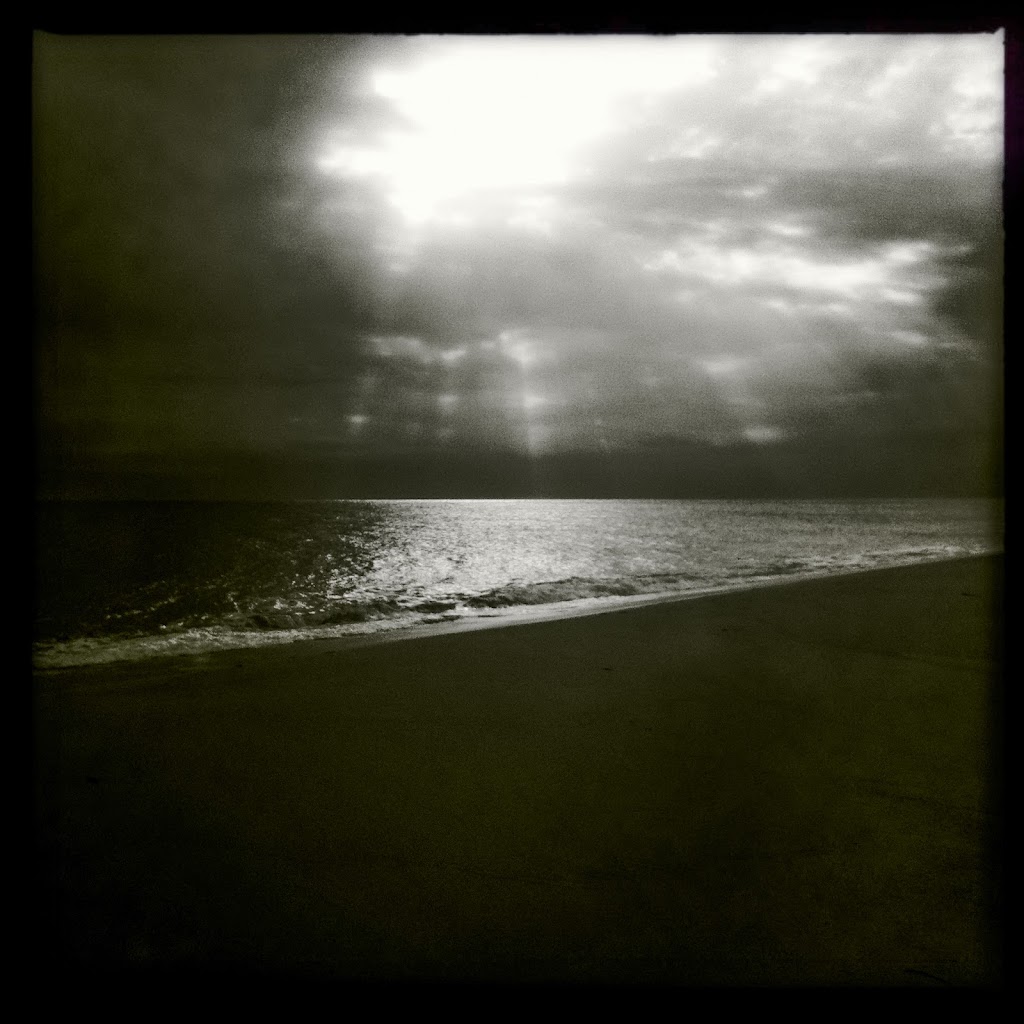 "Chappaquiddick Sunburst"
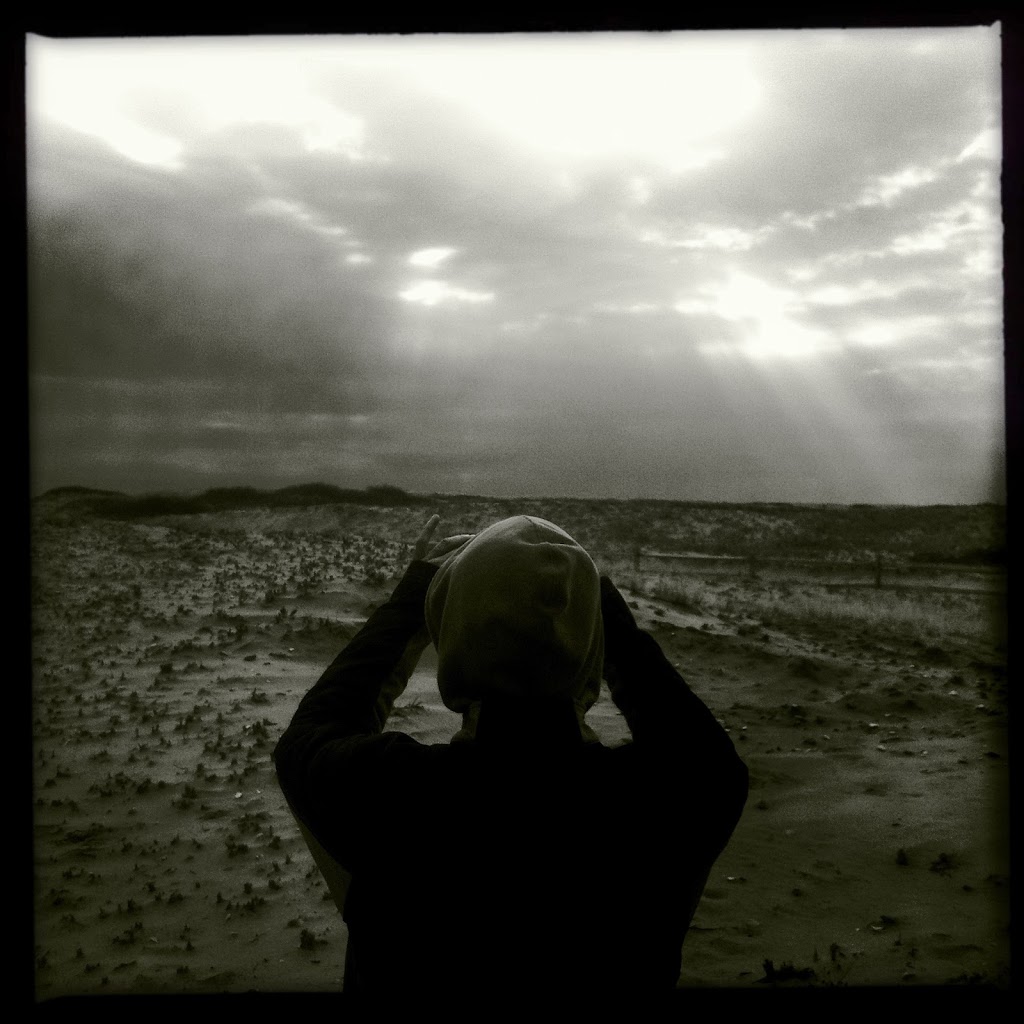 "My Buddy Fargarshio Making Like This Was All His Idea"
 "Accidental Self Portrait"
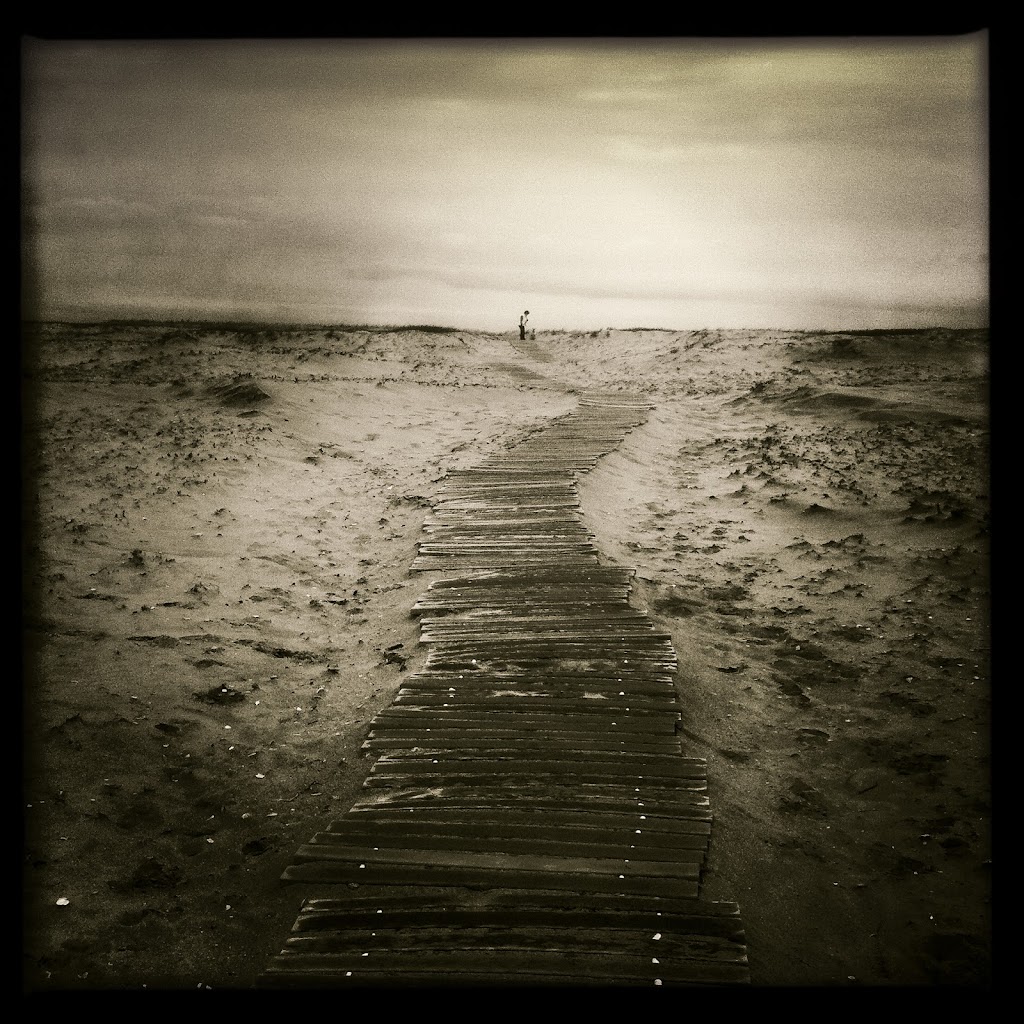 "Chappaquiddick Lady With Dog" Here's where this whole thing get's palpable because I set about making "real" images of this boardwalk with my "real" camera and the results weren't close to how much I like this shot- which is just about my favorite image of the whole week- ! Who's laughing now? And what does that expression mean anyway?
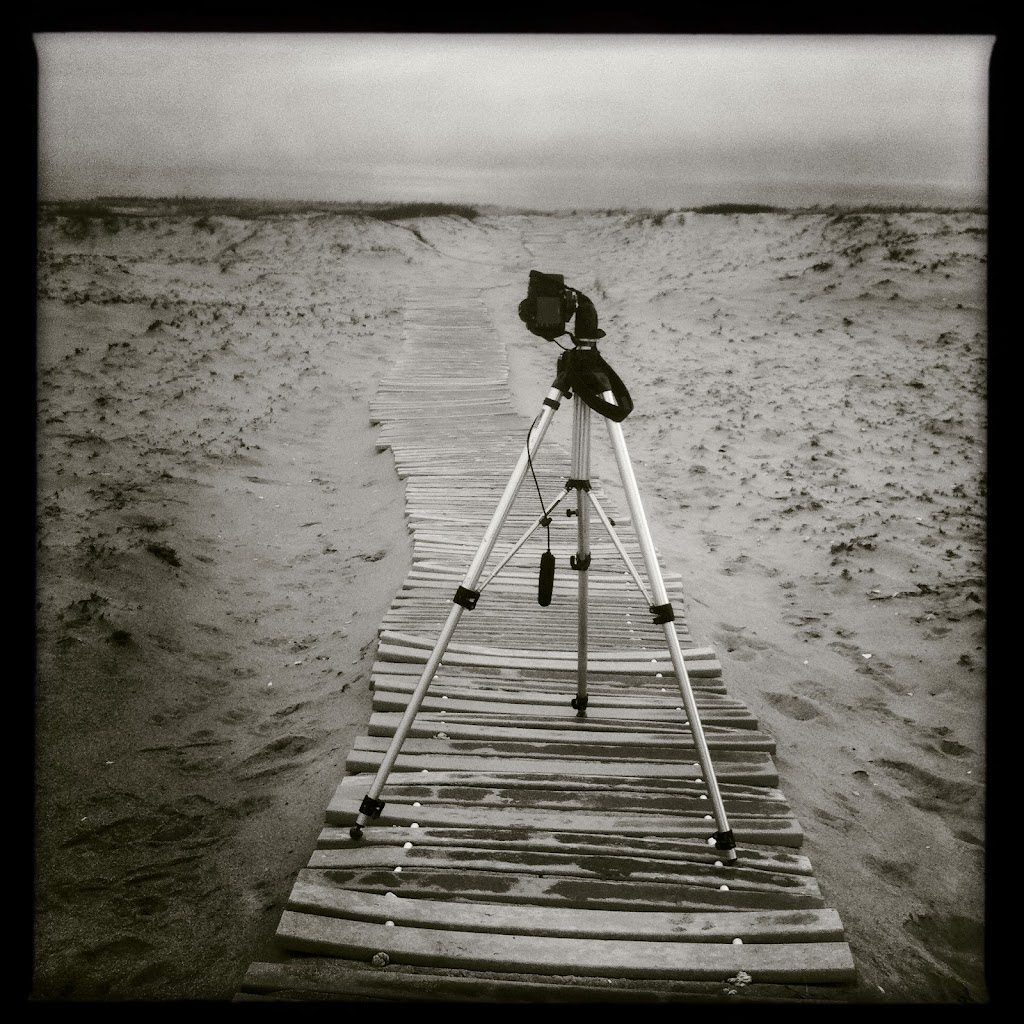 "I win the biggest and heaviest tripod contest"
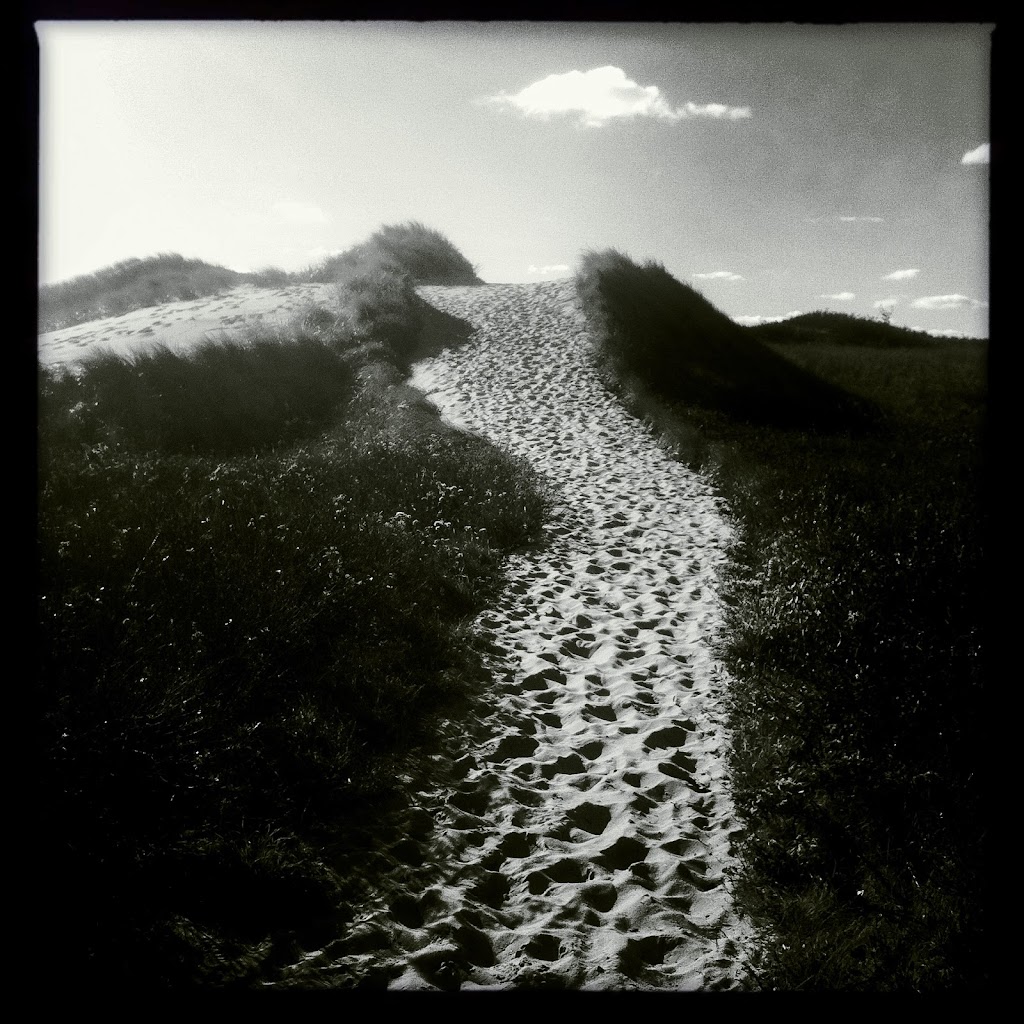 "Martha's Vineyard Beach Path Over the Dunes"
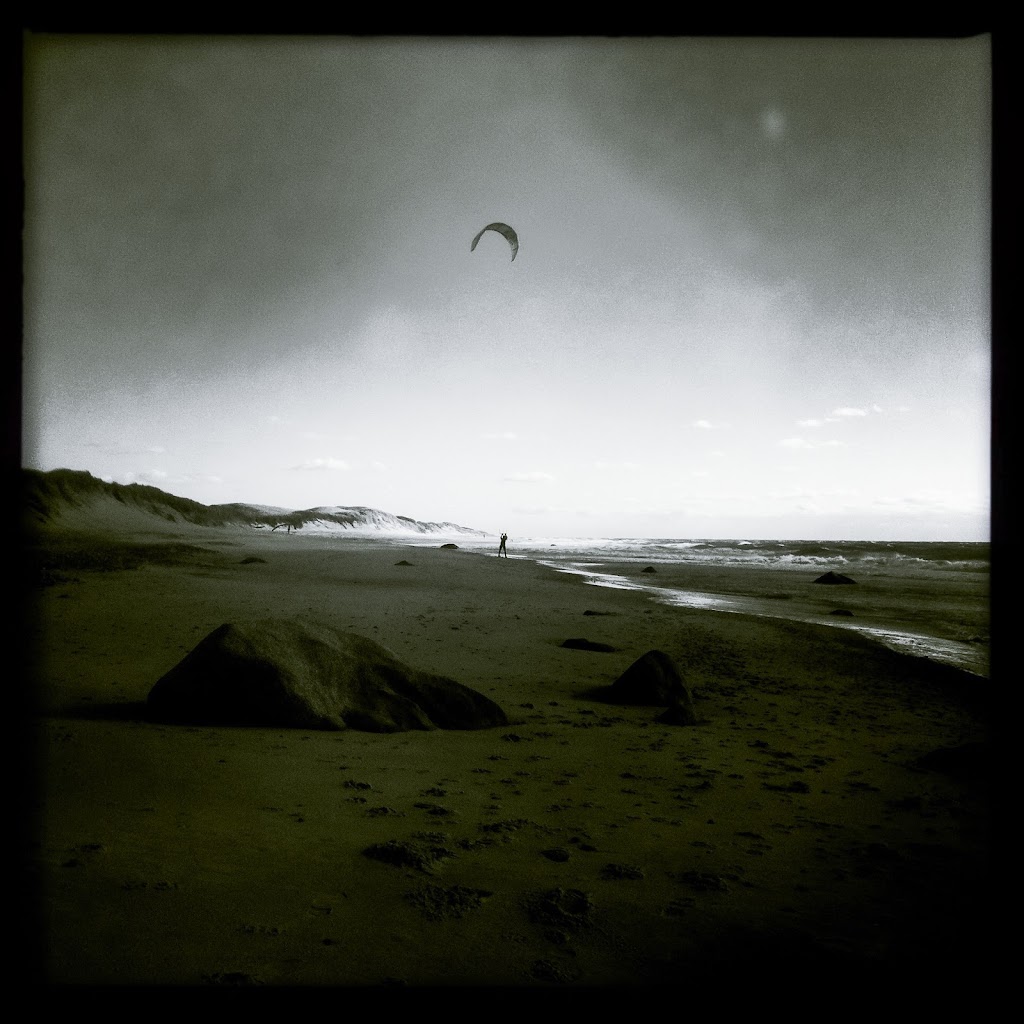 "Sky Flier"
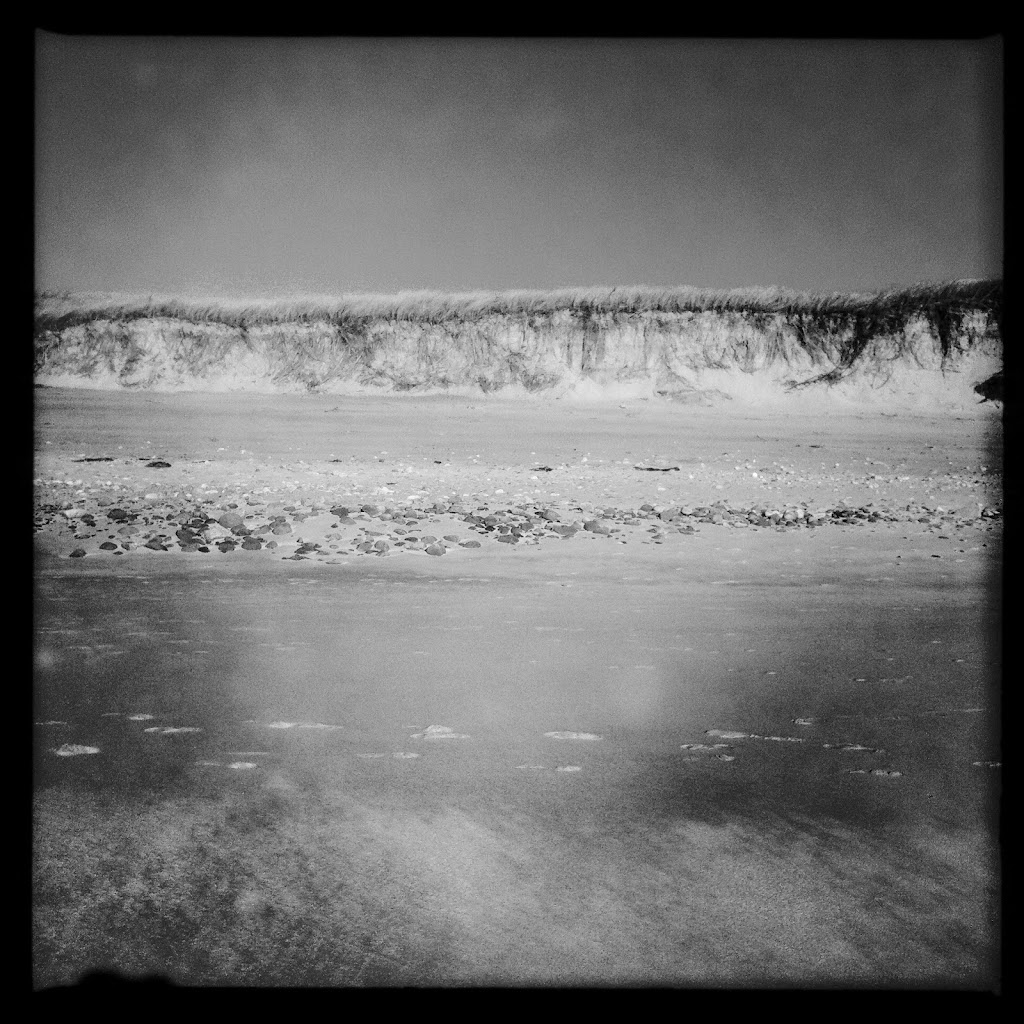 "Vineyard Dunes"
 "Nameplate of The Ferry Home"
 "Just In Case"
 "Why Do They Call It A Wake Anyways"
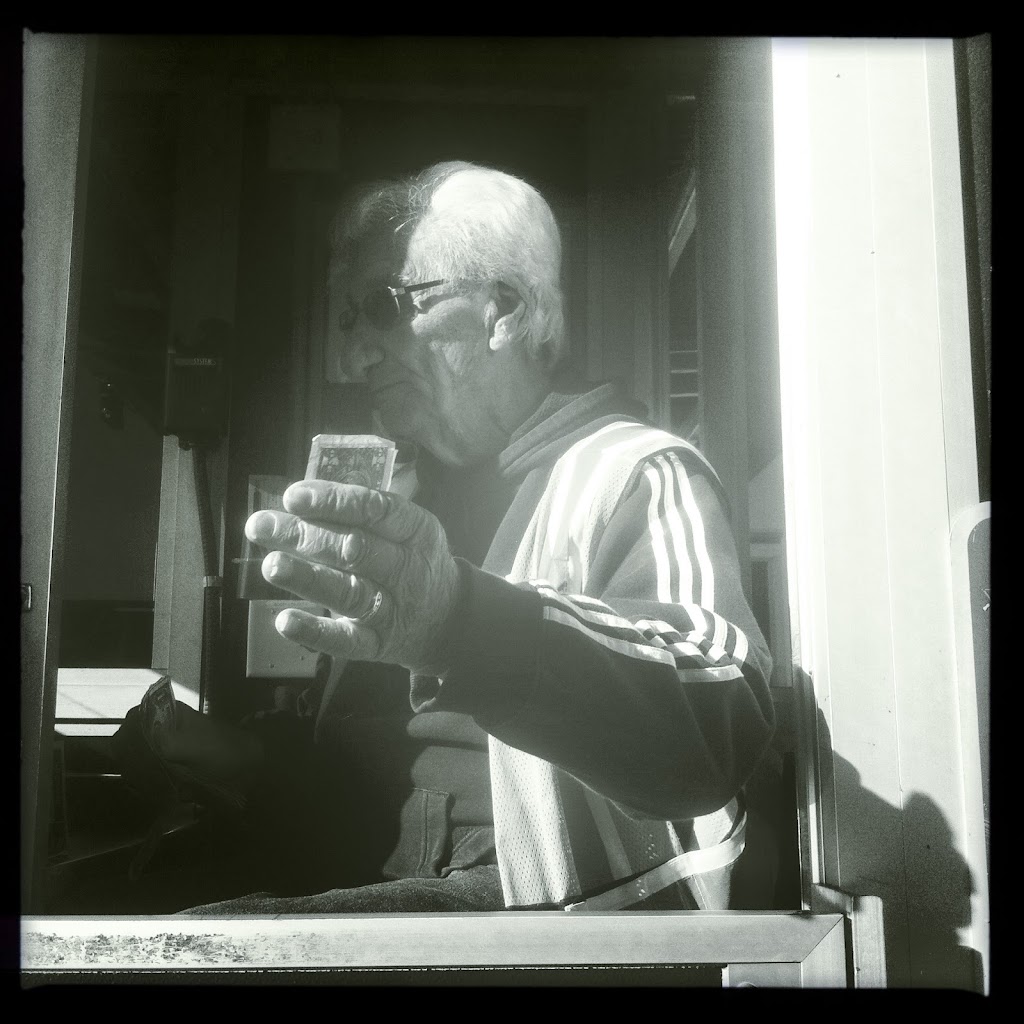 "Toll Booth Willy" -I've been making photograph's of the interesting looking toll booth takers on the interstate occasionally for the past few years, getting my monies worth and all, it's not really fair though- I mean I ask them before doing it but they are just sitting ducks there- not quite like the perfect decisive moment kind of street photography thing- but there sometimes are some pretty cool looking folk in those little boothies.
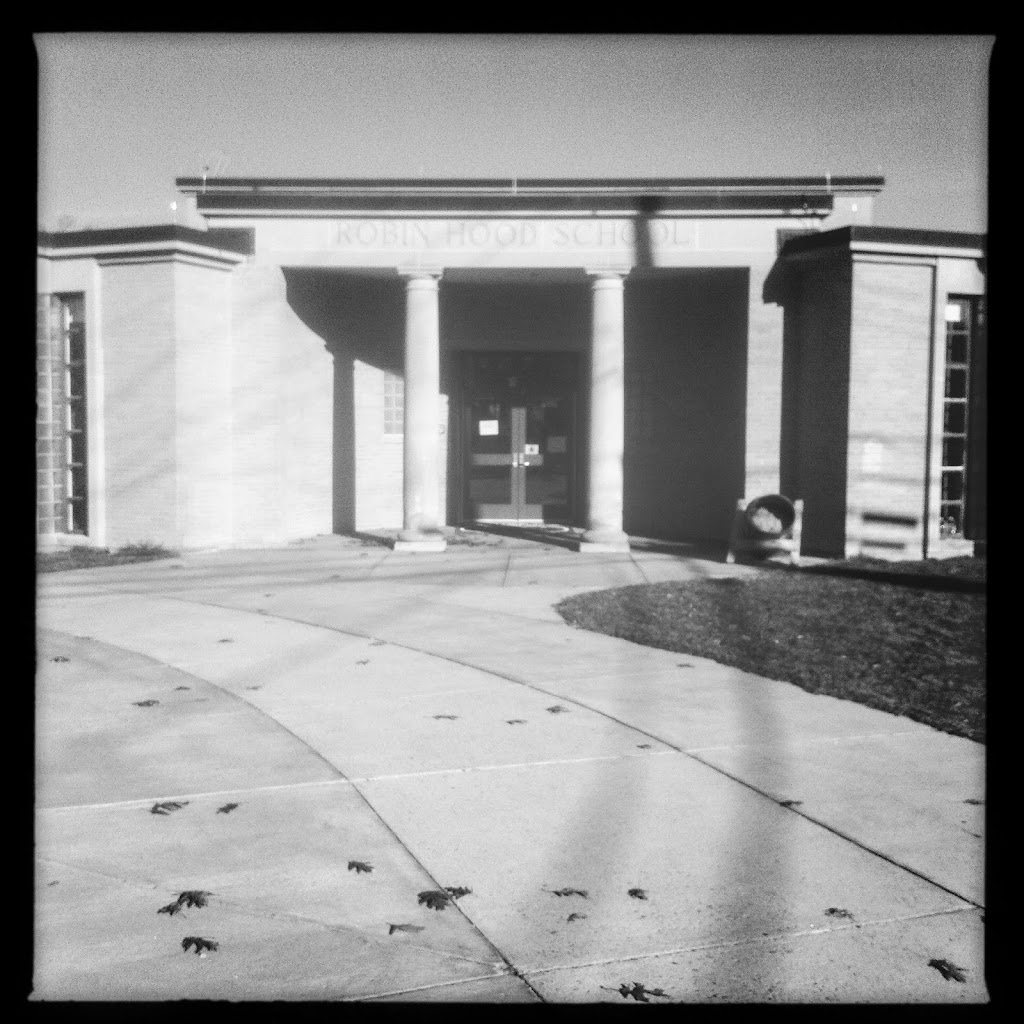 "The School I Grew Up In" -formative moments.
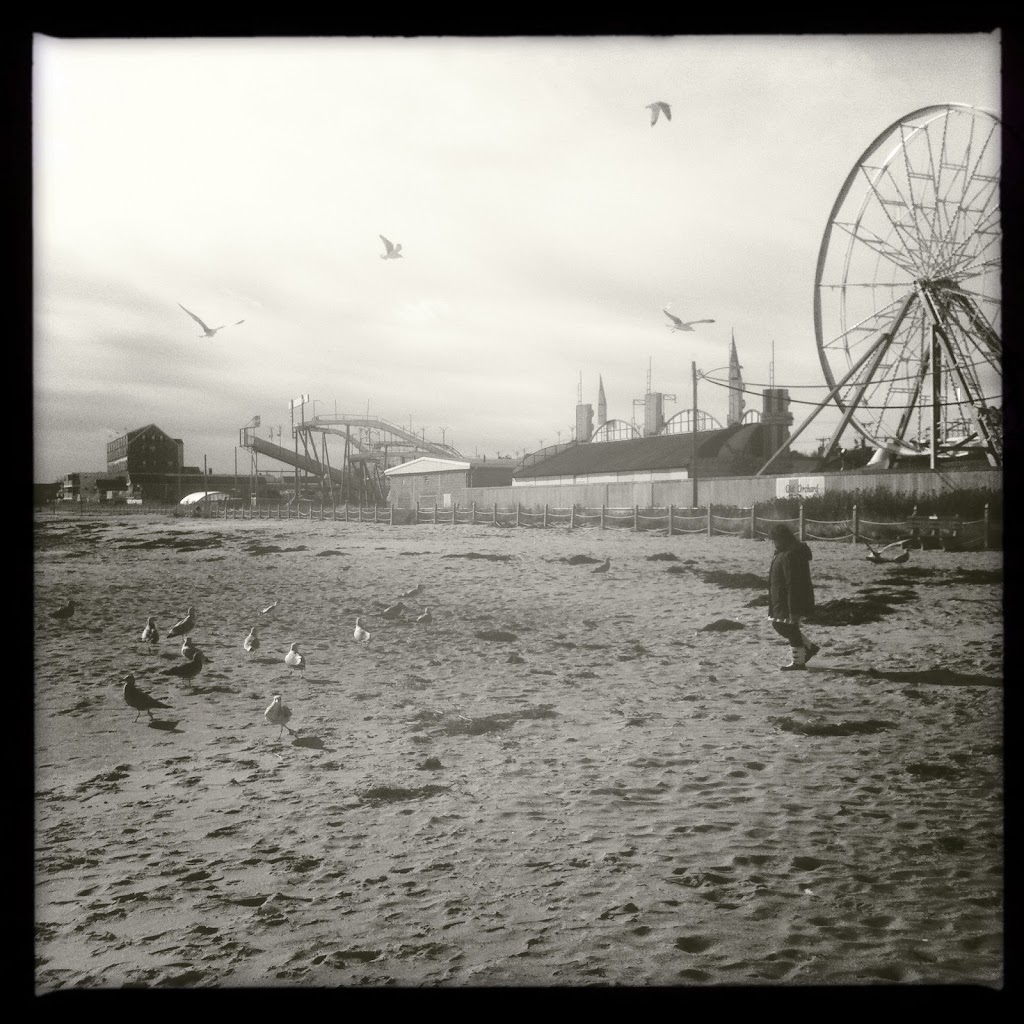 "Old Orchard Beach Kid And Birds"
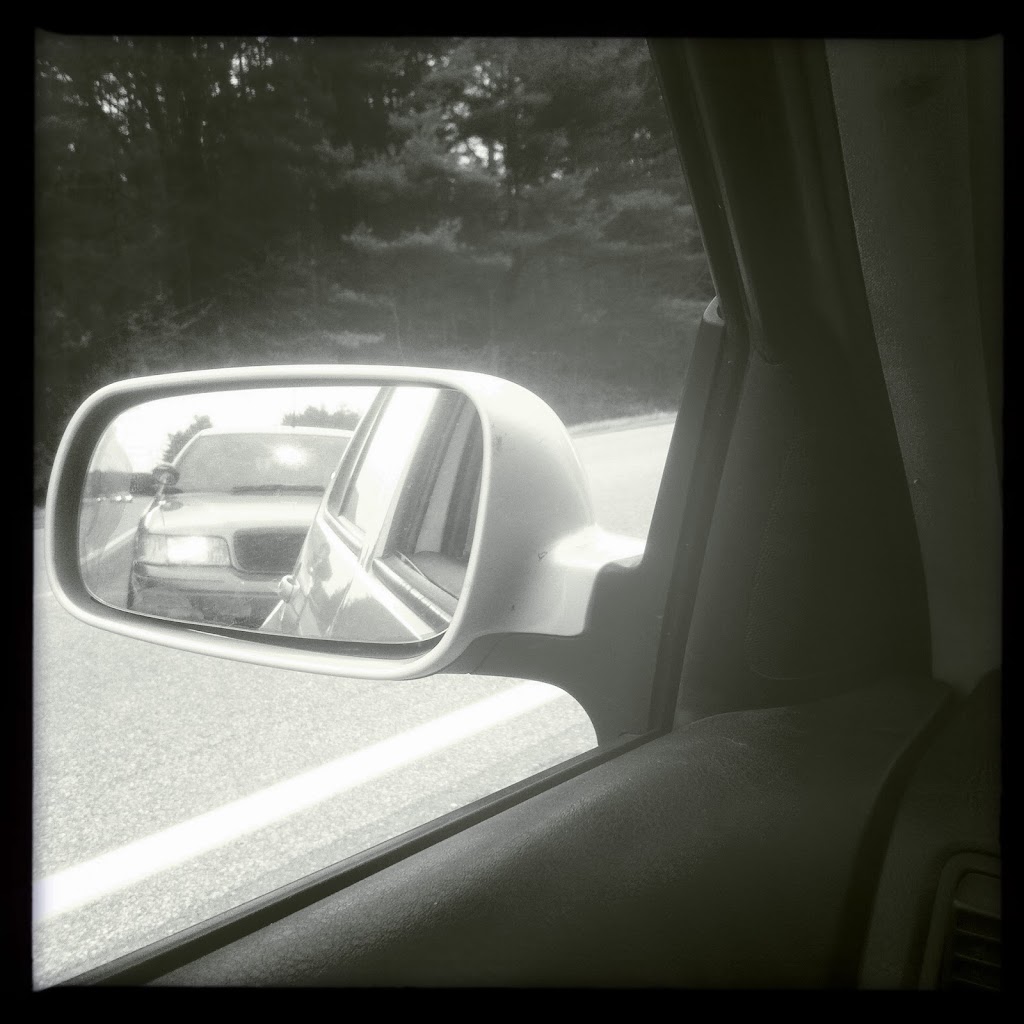 "You Do Not Want To See This In Your Rearview Mirror. Ever." And he wouldn't even let me make a picture of him! He laughed though after he said "No!" and I did too- there's that.
And there we have it. Here's another thing I just thought of: ego motive:: if you really like one of your cell phone pictures then someone else says it's sucks- you just say "hey man, it's just an Iphone picture"! Yeah! That one's for free.
I almost feel like my work is done for this year. That I should just let brown-stick-season be and wait for winter to come and feel good about what I've made this year and not stress about finding and making my next "serious" picture. Maybe I'll go to Bangor and shoot the local color there or something for fun (which could be really pretty interesting!...), or go shoot more of the old abandoned military bases scattered around Maine. The whole time though I won't be far from my Hipstamatic and the Claunch 72 monochrome "film"- love that!
How do you guys use your phone camera's and do you think that important imagery can be made on a cell phone camera? Comment me your opinions if you got one-
Have a good one and thanks for stopping by -Nate!
Black and White Shop Talk- Old Orchard Beach From Capture to Adding the Vignette
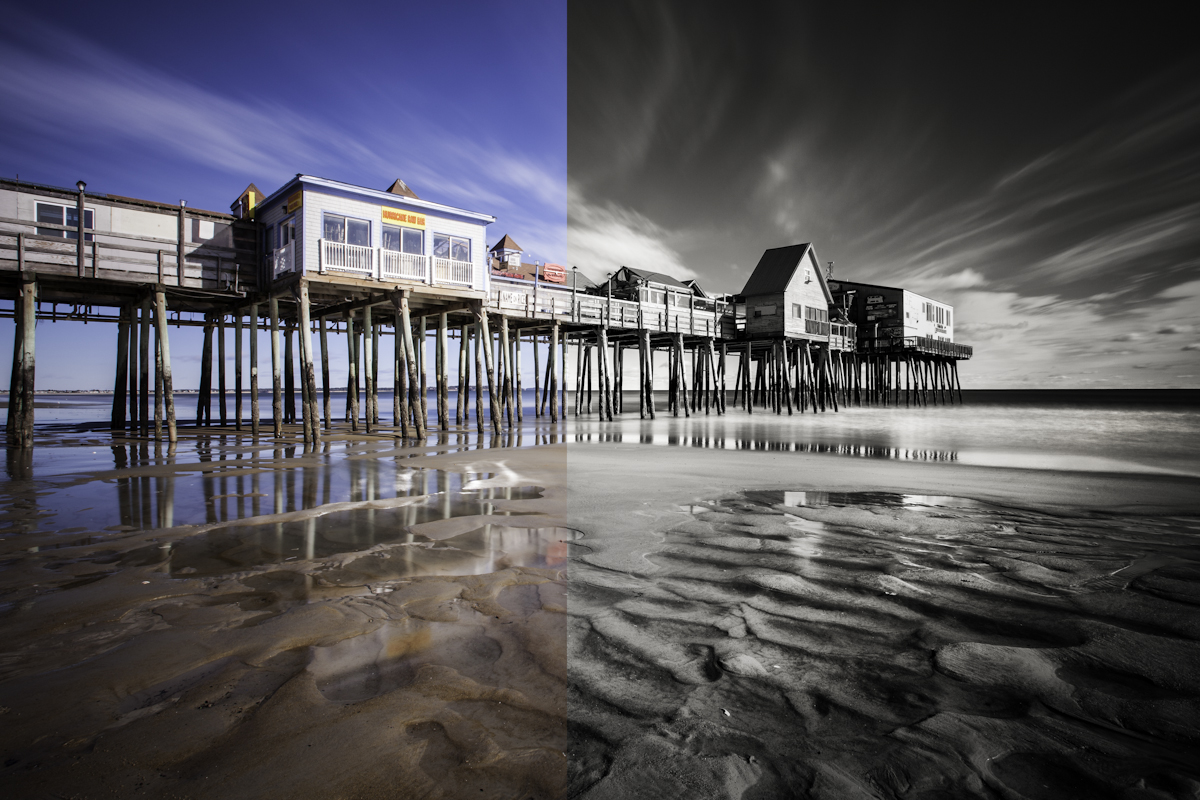
Old Orchard Beach boardwalk before and after-
Hey there folksters- figured I'd do a before and after of the Old Orchard Beach boardwalk shot and talk a little bit about my workflow regarding making a black and white picture. Oh boy! Grab some knockwurst and 3 beers and put some Bjork on the Itunes and we'll get right down to the nitty gritzorz! The focus of this will be the post process stuff using Lightroom 4 and Nik Silver Efex and just a touch of Photoshop, I'll talk a little about the capture (making the picture), but this isn't meant to be a long exposure tutorial- that should be a separate affair that I'll get into at some other point in our long-lived lives to come. Sweet!
Right then- here we go! So I've been wanting to shoot the boardwalk at Old Orchard Beach down in Saco Maine for a while now, it's about 3.5 hours from me and where I'll fairly regularly go to the Boston area and the Cape to visit family, I rarely want to stop halfway there because I usually like to just get the horrible driving and traffic etc behind me, but this time on the way back home I decided to take an hour or so off and give it a go. Sunday at about noontime I pulled up to the pier in Saco and found a parking spot right off the beach now that it's the off season- good start! I pulled on my Muck Boots and started setting up the kit in the parking lot and right away this beach creature with a beer-in-public approached me and started talking my ear off explaining how bad his hangover was today etc- which was weird and kind of off putting and he wanted to be my best friend so that was tough to let him down gently but whatever- I have enough friends. So, it was high noon, it was bright, it was windy, and the bums were out- all my least favorite things when it comes to photography. The sun was shining on the storefront side of the boardwalk and the opposite side which is the rear of the boardwalk but has almost nicer lines and details, was in deep contasty shadow. The cloud cover that day was real sparse but not too bad- ideally there would have been low and quick moving cloudlets that would make a fanning motion pattern in the long exposure, or fog, but that wasn't about to happen for at least a few hours and I didn't have the time or patience to wait so I had to make do with what there was. The shot that I have seen of the OOB boardwalk that I like the most is one from the backside of it putting the pier at an oblique angle and minimizing the background to just mainly the sea, but this side was in too deep of a shadow in the current light conditions to consider starting there- I did make some shots from that side of the pier that I like enough but this bright side was the one that I chose as my pick and my focus. I shot the sunny side of the pier up and down the beach from a variety of angles and it was only the last few exposures that I made where I found the nice ripples in the foreground in the sand to balance the composition. And it was the arrayed pattern of the ripples that seemed to compliment the shapes in the clouds in the sky above the boardwalk that attracted me to this scene. So that's the composition side of things, we're good there- the next things to consider were the exposure and camera settings.
I use a dedicated black and white mode on my 5D MKII often to help with visualization, I keep that in my C3 custom functions settings on the mode dial and I have that setting tuned to +2 contrast with a white balance shift to blue and a digital red filter applied that will make nice and dark and dramatic blue skies. I don't always use this b+w mode but it sure helps with inspiration sometimes when checking your reviews screen. The exposure problem here that day was that there was direct sun shining on the white painted surfaces of the boardwalk store fronts- sure it was low angle winter sun but it was still mighty brightly lit in the area of brightness- and that was my foremost concern for setting my exposures. I usually use matrix metering for the most part as the my light meter but I'm going to go to spot metering from now on (I used to only spot meter a few years ago but I figured the newer metering technologies must be better, forget it- I always think: where is the exposure most crucial and check it there but might as well just use the spot meter right off to get it.) As far as my exposure preference sensibilities are concerned (because everybody's different, this is just me): I don't ever want any "pure paper" in my images, which is to say that I never really want hardly any true whites- I like just a hair backed off from there- and that's the way I ultimately think about my images exposures: I think about them as potential prints. So the brightest part of the image was going to be the last building on the boardwalk as well as some of the painted white trim along the railing of some of the other structures. So I exposed for them and let them clip just by a teeny bit- I use the Highlight Warning setting on the Canon's review function which in combination with checking the histogram gave me the confidence that in post they would be bright but not actually blown out. You can allow a fair amount of "blinkies", which is what we call the Highlight Warning feature, in your exposure safely. Lightroom 4 does a genius job of recovering those seemingly blown out areas without you doing any work on the image- often times what is blinking on the cameras review screen will not be "blinking" in Lr4. Which is good. Just a couple more details about the capture and we'll get to the development- so I wanted to make a long exposure to work with the water under the piers and the few clouds that were in the sky above the boardwalk- I did end up waiting for 10 or 15 minutes to let a bank of clouds climb up over the roof but then in order to have a sufficiently long enough exposure using my 10 stop ND filter I was forced to stop down to f/18 and use ISO 50 to get 37 seconds of open shutter- that's how bright it was. F/18 is not my favorite aperture so this was a consideration that would need to be looked at in post. So lets go to Lightroom!
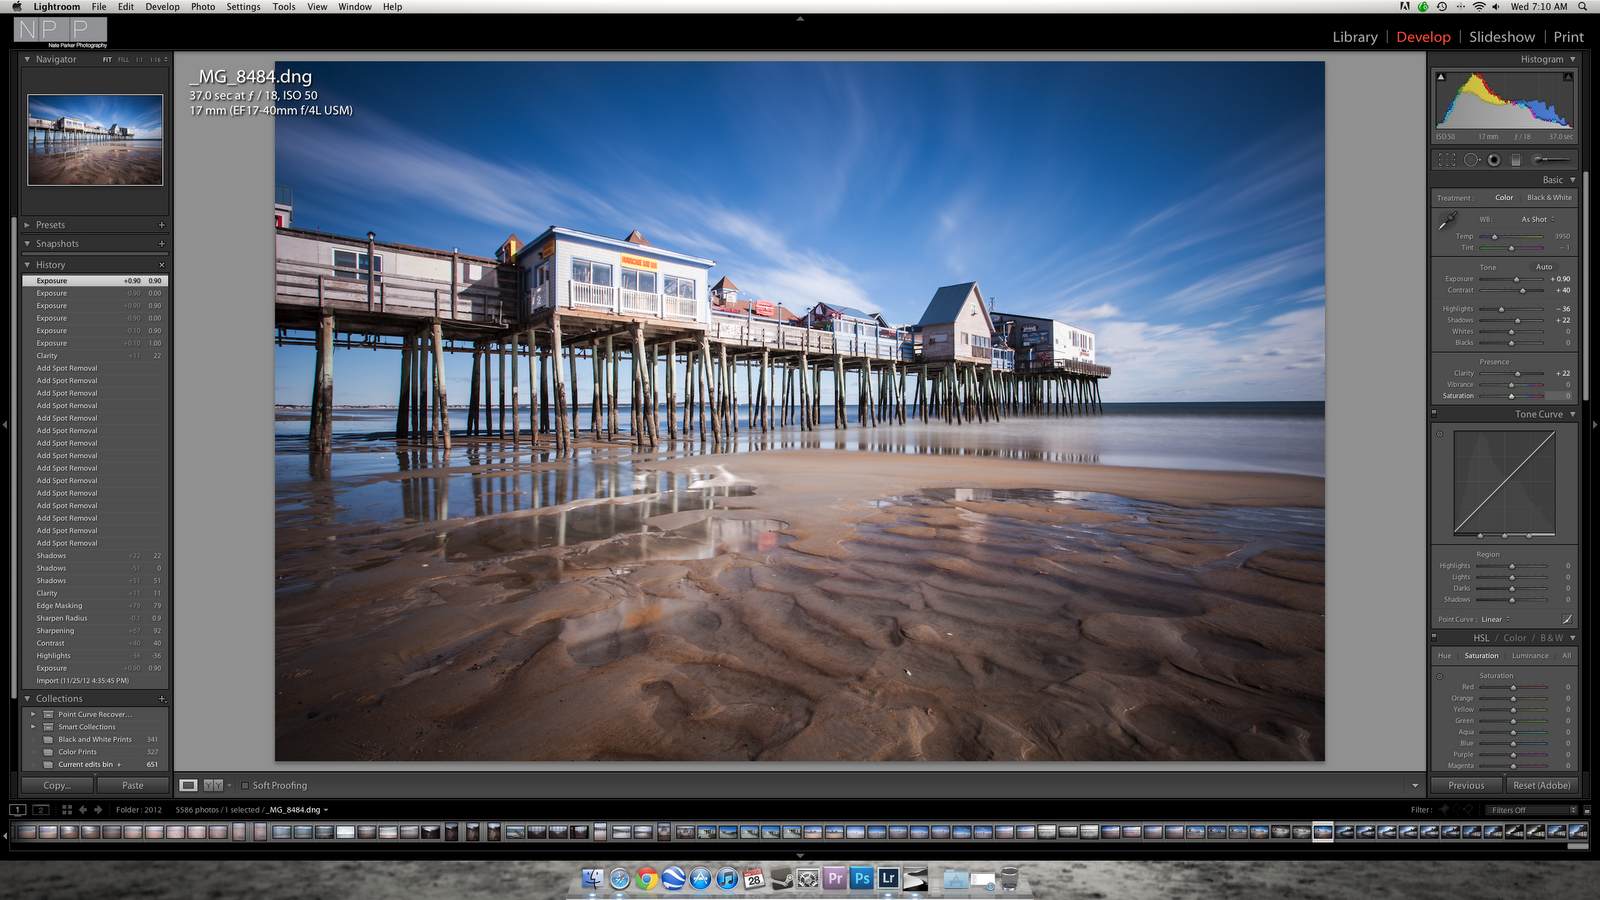
First I had to drive home. Then I had a beer. Then for safety sake I had another, so in post when I develop an image I do a number of things the same almost regardless of what it is that's in the picture- but then again I only shoot a few different things-? Anyways the first thing I do is judge the Exposure- this is an arbitrary thing. Everybody has their own idea of a good exposure even though for the most part usually a good exposure has a good true white (remember what I said about that earlier) and a true black and those 2 places are empirically visible on the tool that is the Histogram which in, Lightroom's Develop module, is the graph on the top of the tool workspace. The far right is pure white and the far left is the pure black and everywhere in between is all the colors of the black and white rainbow! Romantic isn't it? So with that in mind- all of my Histograms have a little space at the far right to keep that pure paper white out of my prints. The first thing I did to the image was to make a global Exposure adjustment of +90 for the right overall feeling for the scene- because of the bright areas on the storefronts I was apparently being extremely cautious about blowing the exposure out there, after all that's where the heart of the details lay in this composition. The good thing is that the sensor, (the film), in my camera is pretty excellent, so to make an exposure attenuation of almost a whole stop doesn't introduce any palpable noise at all and I probably could have pushed it almost 2 stops without having to deal with noise issues much- not to say that you shouldn't try your hardest to make a proper in-camera exposure, just showing you the possibilities. Then I made a Highlight adjustment of -36 to bring back those storefronts to a normal brightness, then a Shadow adjustment of +22 to bring some detail back into the areas under the pier. I routinely zoom in to a 100 percent loupe view to check for noise and check how detail is rendering and to check edges for halo's of any kind. I also routinely evaluate the thumbnail image while making changes to see how the feel of the scene is from "far away", it's always useful to like step-back from what you're working on to get a better idea of what you're looking at or get a better overall perspective. Lightroom 4 has a sweet Chromatic Aberration removal tool in the Lens Profile dialog that works a treat for your edges- there'll almost always be some amount of magenta or green tinge to high contrast edges that this tool will fix and help with the detail definition, so hit that check box. Allright now I'm kind of forgetting my place here but herein is a point: you don't necessarily have to do any of these adjustments in any kind of order although it helps to do certain things before other things because making one adjustment will have ramifications on other aspects of the image. And the way Lightroom is laid out is to move down through the tools throughout the Develop module making one adjustment before the other. But I've developed my own approach that I feel most comfortable with and you may find your own approach is more comfortable, anyways... So before this point I did Sharpening. And here is a point of contention for some as some people only sharpen as the very last step and then only depending on the ultimate choice of application (whether or not it's meant for the web or for a print and if it's a print is it a big print or a little print, etc.) But I like to sharpen fairly early on as I can't hope to see the scene unless it's happy on my eye's! And all digital image files need a fair amount of sharpening to look correct. So I'll do sharpening right after global exposure adjustments and after adding a teaspoon of Clarity (+22 here). I'll often only use a sharpening amount of @+45~55 but this time with this particular distant details subject i used an amount of +92 (I know, seems like alot!) also it's that f/18 that caused that desire!- with a radius of 0.9, detail left on 25 and I always add a Sharpening Mask whereby while holding down the Option (alt) key you slide the mask amount to the right while watching where the actual mask is being applied- don't sharpen skies or open field, just sharpen edges- but then watch for haloing in the image in 100% loupe view to make sure the amount of masking is correct. Sharpening is crucial for digital images and a correct amount of sharpening will make the image pop and have the correct amount of microcontrast. Too much sharpening has a garish result and not only will introduce noise but will make an image ugly and angry like it's tearing out of the paper or the screen (PG13 warning: cover your kids eyes and ears!!!) wanting to wrip your throat out with it's stinky breath and fingernails jagged claws!!- it's an arbitrary thing like so many other things but approach sharpening with restraint: less is better than too much if you ask me. Now we move to global Contrast adaptations. Here's another case of an arbitrary consideration. I like a fair amount of contrast and for some images I want more and for others less goes a long way. Also consider that negative contrast will help bring out shadow detail- and any global adjustment can be fine tuned as a local adjustment using the Adjustment Brush and painted anywhere in the image that is necessary. So in this case of the Old Orchard Beach boardwalk there was already a fairly strong presence of contrast because of the lighting conditions so adding a little bit more would be suitable and natural for the feel of the scene as well as it stretches the Histogram to either end helping with the exposure. In this case I added a Contrast amount of +40. And that's about it for the Lightroom stuff, this image was pretty straight forward for me to approach. I will more often then not usually use the white point and black point sliders in the Develop module and often make some tone curve adjustments and occasionally when necessary make adjustments to the color channels in the HSL dialog of the color channels part of the Develop module, and I'll almost always add a graduated filter of either exposure or clarity or contrast or all of the above to the sky, but this time those weren't necessary and I went right from here to Nik Silver Efex.
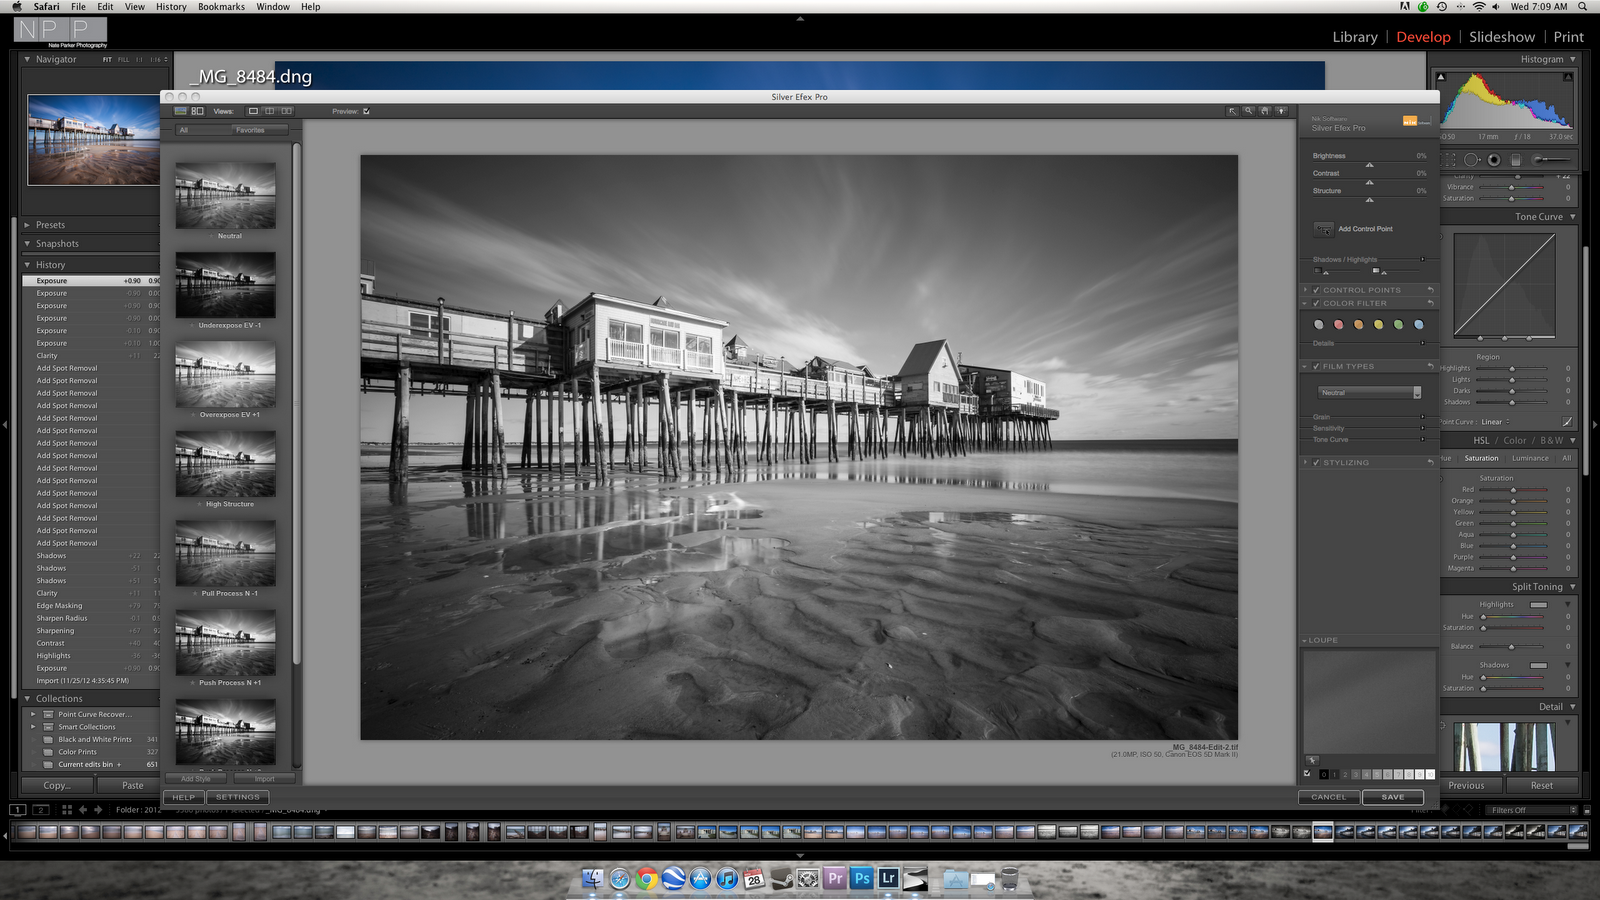
Nik Silver Efex is de' best, hands-down, program for making black and white conversions- you can do it fine in Lightroom using the black and white mode, you can use Photoshop for black and white, but the luminance magic and silvery goodness that you get from Silver Efex is totally amazing. The trick is you get your file looking as good as you can get it in your RAW developer then send the file over to Silver Efex (I have my Silver Efex functioning as a plug-in to Lightroom) so you just right-click and open with Silver Efex and it gives you the choice of Open as a copy with Lightroom Adjustments or open the original, so you choose open with the Lightroom adjustments and the work you did on the file shows up in scrumptious varieties of presets of black and white. It get's me everytime! I just love it! I still use Silver Efex version original but everyone else has Silver Efex 2 now, which they say is even better, but I'm just so used to version I that I don't even know if I want version 2, anyways you get your image there and you can choose a number of high key or low key or different levels of contrasty amounts of silvery yummyness- I usually start with the Neutral preset or sometimes the underexpose or overexpose or sometimes the pull-process presets, then I'll always go through the digital colored filters- usually going with the red or orange filter, sometimes the green, or sometimes for extreme contrast scenes I'll use the blue filter. Then for this image I added a fair amount of Structure (can't remember how much now but probably around 20-30 (in conjunction with the +22 of clarity I already added to the color image that pops it the right amount)), a little bit more contrast then I did some brush work with Control Points along the boardwalk itself. Silver Efex and all Nik tools have a 'great control point' system that automasks in a real intuitive fashion and I almost always do some "dodging and burning" with the control points. The Nik interface is a slick thing but isn't quite as good or intuitive as working in Lightroom so I always make my adjustments knowing that I will ultimately fine-tune them later over in Lightroom and Photoshop, what I mean by that is i get the image looking as good as I can get it to feel in Silver Efex and then save it and once again and in Lightroom I do final local and maybe even some more global adjustments using the 100 percent loupe and the thumbnail to feel it out. I like to make final tuning by dodging and burning with the brush tool in Lightroom and sometimes if I'm feeling ambitious I'll prefer to do these adjustments in Photoshop where the Dodge and Burn tools are able to be more finessed by selecting on highlights, midtones, or shadows to apply the effect to. Also I'll often either add something of a vignette in Lightroom or for more creative possibilities I'll use Photoshops gradient tool with the round or linear gradient selected to add custom vignetting. And that's what I did here I added two circular gradients- one to the top of the image at the boardwalk and another to the sand ripples in the bottom which gives the overall feel of vignetted edges- that's my favorite kind of vignette approach these days. Well that's about it kids- a pretty basic development with nothing too crazy going on. I probably spent no more than 30 minutes working on this image and considering the image from the other side of the pier- and these days that's pretty much my approach to developing.
I've been shooting a lot more then developing lately, that's not always the case, sometimes I run out of images to work on in the digital darkroom and then I need to get out to make more because I like to always have something to work on. And I didn't talk about one of my favorite tricks which is to make Virtual Copies of the image I'm working on in Lightroom and create different developments and compare them for what I want with the compare tool or the survey view- as well as taking time and coming back the next morning to make sure that I like what I did- some people take a ton of time working on an individual image, don't rush it, you'll probably never go back and fix it the right way.
Well I hope this was somehow useful- thanks for coming by, grab a cookie on the way out- they're fresh, the lady just made a batch, and hope to see you out there sometime! Have a good day -Nate from Maine, Usa!
To Black and White or Not to Black and White (part 2 readers questions).
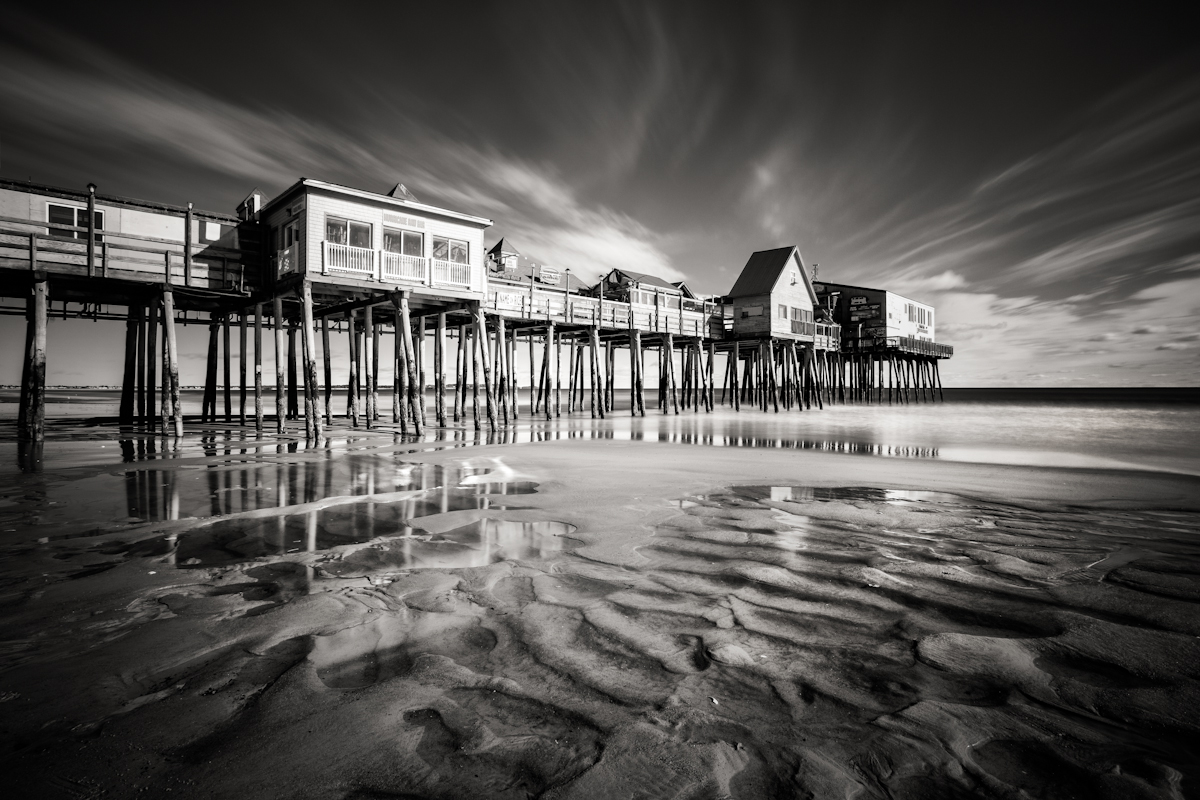
"Old Orchard Beach Maine"
Hey there gang- just got back from the Thanksgiving holiday food/family/fun extravaganza in the Boston area and on Cape Cod and Martha's Vineyard. Good times! Lot's of driving and traffic, got pulled over and got a speeding ticket :-( and the trooper wouldn't let me even make a photo of him for my troubles :-(. But I Did get to make a fair amount of photography between and sometimes during visiting with family and friends, and went on a good few photo excursions which included Cape Cod and Martha's Vineyard beaches and dunes, a 140 foot tall crazy looking sewerage treatment plant out in Boston Harbor, went to the North End and did some street shooting and ate excellent pizza, and stopped on the way back at Old Orchard Beach in Maine to photograph the boardwalk. Ideally a trip like that can combine family and photography, I love shooting in Boston and on the Cape- there's lot's to see and the biggest thing is that I'm off the island that I live on in Maine and there's photographs to be made everywhere! But because I'm primarily visiting the folks it's only really a bonus if I make new work that I'm actually proud of. And it wasn't until I was only 3 hours from home this time when the shots that I was making were giving me that satisfied feeling of actually getting something good. Anyways...
Right then- on to the technical stuff: so this guy who I've known over on the Flickr for a few years sent me an email this morning with some good questions about black and white and I figured that I'd answer him and post it here at the same time for free content! Here's the email, partly redacted to protect privacy et al.::
"Okay, I'm sufficiently inspired! I need to shoot more black and white.
I'm not really well experienced with shooting in black and white and wanted to ask you a couple questions, because the b&w work you've been doing lately is about as good as it gets in my opinion. (editors note: thanks buddy! that's a good way to get me to answer too!) I was mainly wondering if the optimal conditions for shooting in b&w are different for shooting in color. When I shoot in color I mostly limit myself to the sunset/sunrise range. Or cloudy conditions for waterfalls. But it seems like it might not be as important for b&w.
I've also noticed the most of my favorite b&w work is fairly long exposure, usually with a solid ND filter. Especially with water. When shooting color I like to get some hint of texture in the water so I try to hit an exposure "sweet spot" of around 1/10 - 1.5 seconds. But it seems like much longer exposures, the kind that blur the water into a super-soft, texture-less substance, benefit b&w much more than color. I'm guessing it's because it more readily defines areas of light and dark that way, but I'm not sure.
Finally, do you find that adding a sepia cast is always a good thing, or only sometimes? It looks great in your work, but I have found that in other shots I've seen from other people, it doesn't always impress me (but it might just be that it's because they're doing b&w the wrong way for a sepia cast).
Thanks a lot for any advice! I might try to get out tomorrow to shoot something."
-(flickr buddy guy)
Right then, thanks Justin! (editors note: Oops!) regarding your question #1 one of my favorite things about making black and white photography is that I'm no longer routinely killing myself by getting up 2 hours before sunrise to to coffee and wake and travel to the location etc to catch those dramatic morning colors- because mono is much less dependent on thrilling pyrotechnic skies to make an acceptably interesting image. Definitely though the skies in the morning hours and late in the day when cloud contrasts are more exaggerated are key to image making whether it's color or b+w but it's that particular time of day (thirty minutes before sunrise to sunrise) that were so invaluable as a color photographer, I don't really find myself missing much these days. I'm more looking for storms and storm light and my absolute favorite is fog- which would be from a color photographers stand point nearly monochrome anyways, at least desaturated (depending on viewing distance). Still my least favorite times of day for shooting are mid day, and otherwise any kind of harsh light will still be harsh light in mono or in color. But all those "rules" will just have you making work like everybody else so maybe embrace high-noon and make a new style! :-)
When making mono work we're obviously just responding to texture and light and contrast in the composition, and because it's mono sometimes you can find a freedom of vision through your developments that in color may seem more "heavy handed", but in grays is just another option.
As far as the long exposure stuff goes it works a treat for black and white! There's been a lot of long exposure black and white work being made over the last couple years, if there's an old rotten pier jutting out into the North Atlantic somewhere then we got a guy with black glass on it!- and where I love it and tend to get almost obsessed with finding new ways to use it I'm getting the fear that hopefully it won't ever get that bad juju that swirled like a stink cloud around the whole hdr movement. What I'm trying to say is that there's a time and place for everything and just because it's monochrome doesn't mean it needs to be LE, and conversely just because it's LE doesn't mean it can't be color. Often long exposures are developed as mono because the ND filters have a color cast- some are warm like the B+W 110 and the Lee Big Stopper is cool. It can be really a pretty strong cast depending on how you have your camera set but you can make Kelvin or other white balance adjustments in camera and of course make any other tweaks in your Raw developer later. I really love how good color long exposures look- and you shouldn't disregard the potential there- I'm serious! :-) LE is an option like any other option, it gives you all kinds of possibilities and potential- and it's not just water and clouds that it needs to be limited to. You be the judge!
And lastomatically regarding the "sepia" bit- ya I know what you mean- I hate it when it's over the top in a tasteless way. I'm just warming my final edits a touch because I like the look of printing on natural papers that don't have a lot of OBA's in them (optical brightening secret-agents) and they are warmer in appearance, and I just like that warmer look in my black and whites these days. Blue toned black and whites look sweet or that cyanotype look and all, it's up to you what you like- it's just a personal opinion.
Right then- hope that helps and have fun in the land of the lost hues.
If anybody else has any questions you want me to try to answer "on the air" I'd be happy to hear from ye! Have a good one- Nate!
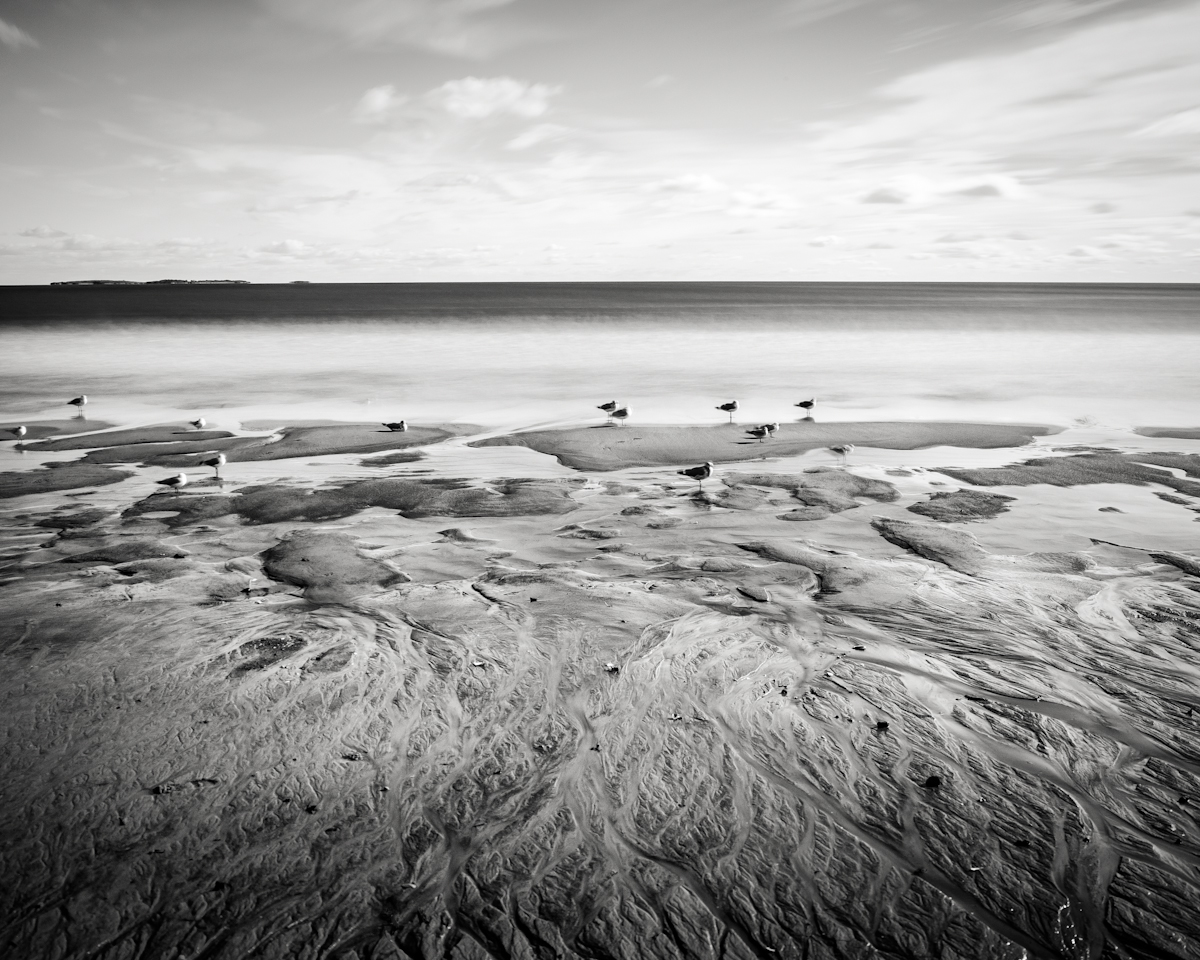
"Old Orchard Beach Gulls"
Superstorm Sandy Storm Waves in Acadia
"Superstorm Sandy Storm Waves at Acadia"
This stuff was on my timeline in Premiere Pro while away on the big trip to the left coast- figured I'd put it up for your consumption. There were some pretty mean waves that day- these shots don't do them justice. And I really didn't get hardly anything photographically out of the day- I should have made video my focus in the end me thinks. I really was dying for an 24-70 that day as I was using the 17-40 but usually wanted a little more reach and my 100 was in the bag and I did use it for a while but changing lenses that day in 40 knot winds and lashing rain would always be a bad thing. My approach was to show up early for low tide and see what was happening at 06:30 am with sunrise at 07:00 and that is the last long color clip in the video- really awesome waves that were booming from behind the tree line and when you saw them they were easily an impressive 15 feet on average with the occasional house sized 25+ footer that would roll in and sweep all the previous waves out to sea like a bouncer clearing a rowdy bar! Right then- so I set up initially on a bluff overlooking Monument Cove from the south side of it, there the cliff has a great vantage point down to the beach below it but is high enough up and somewhat set off the breaking waves to feel safe enough to deploy tripod and gear. I made hundreds of images in various shutter speeds from .3 sec to 110 seconds or so and I did get a few that I like enough, but like I said earlier I didn't get what I really wanted and therefore would have been more effective just shooting vid- here's the the shots of the day in my opinion from local shooter David Patterson which are just off-the-hook great: http://storiesfromhome.wordpress.com/2012/10/30/sandy-kisses-acadia/

"Sandy kisses Acadia" storm waves at Acadia National Park, David Patterson
 David Patterson http://storiesfromhome.wordpress.com/2012/10/30/sandy-kisses-acadia/
Go check out the rest they're excellent! Anyways- so the conditions that day were anything from whipping sea mist in 40 knot winds to pounding downpours where the rain was bouncing off the ground 2 inches because it was raining so hard with thunder and lightning and more whipping winds so shooting was a real chore. In the winds I felt ok about letting my kit out in the elements but in a downpour I had a zip lock baggie over the lens and body with the lens hood holding it on. I did try to use the camera sealed up in the bag but that was utterly ridiculous and couldn't hope to have dependable results that way- but with the zip open and being able to access the controls the only real consideration then was keeping the UV filter clean of water drops and fog- that day I had the UV filter on for sure, I usually will forego a UV filter on the 17-40 and use a lens hood instead to protect the lens but the filter makes a weather seal that would have otherwise sucked in seawater and rain when zooming and focussing into the lens barrel and into the camera itself so when there's weather I'll definitely have that jobby on. However with another filter stacked on top of it like I used my B+W 110 for some LE's then there is definitely vignetting at wide zoom ranges, but on a day like that- vignetting was my last concern! Weather is my favorite thing as a photographer and as an inhabitant of earth but wind is my least favorite kind of weather! Whatever- here's to storms, but not the kind that hurt people! 
"Monument Cove Boil" -Nate Parker
I shot early for a few hours then went home to dry up and have blood warming beverages then went back out at about noon:30 for high-tide and then it was really kicking! The Bar Harbor Harbormaster http://me.usharbors.com/harbor-listing/bar-harbor-harbormaster had told me previously to the storm that the most dramatic wave conditions would be at approximately low tide due to the shape of the beach that the waves would be breaking on then- but I found the waves at high tide to be truly thrilling to the point of occasionally nearly terrifying when the mean sea level was 13 feet higher than it was at 06:30. Really there were house sized waves that would come in every 6 minutes or so that would just shake the earth when they broke- awesome stuff! There weren't many people out but there were a few -mostly photographers probably and nobody was seemingly doing anything stupid or life threatening, and to their credit: a ranger did approach me at one point and said that nobody was going to come fish me out of the ocean if I got washed in there for at least 30 minutes- whereby I replied that my whole family has been Coasties and that I was as aware as I could be about the conditions and that it would be my greatest embarrassment if I did get foundered! And so maybe that's why I didn't get any wicked good shots that day- I was totally preoccupied with my safety and was constantly looking over my shoulder and more than anything was just really appreciating the conditions and digging watching the impossibly huge waves. 
"Otter Cove Boil"
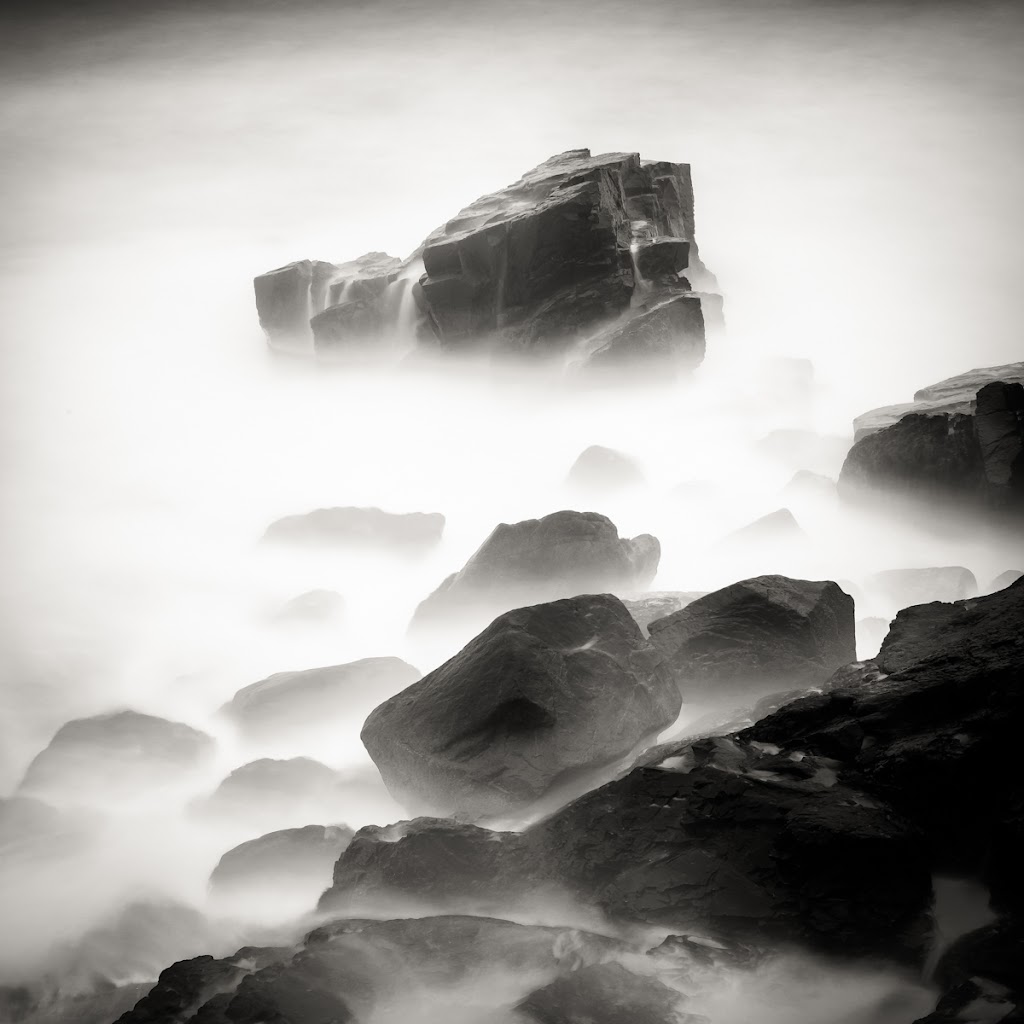 "Coastal Levitation #2"
Until next time, have a good one- Nate.
Also if all of the above has been real boring for anybody- here's a picture of my cat:
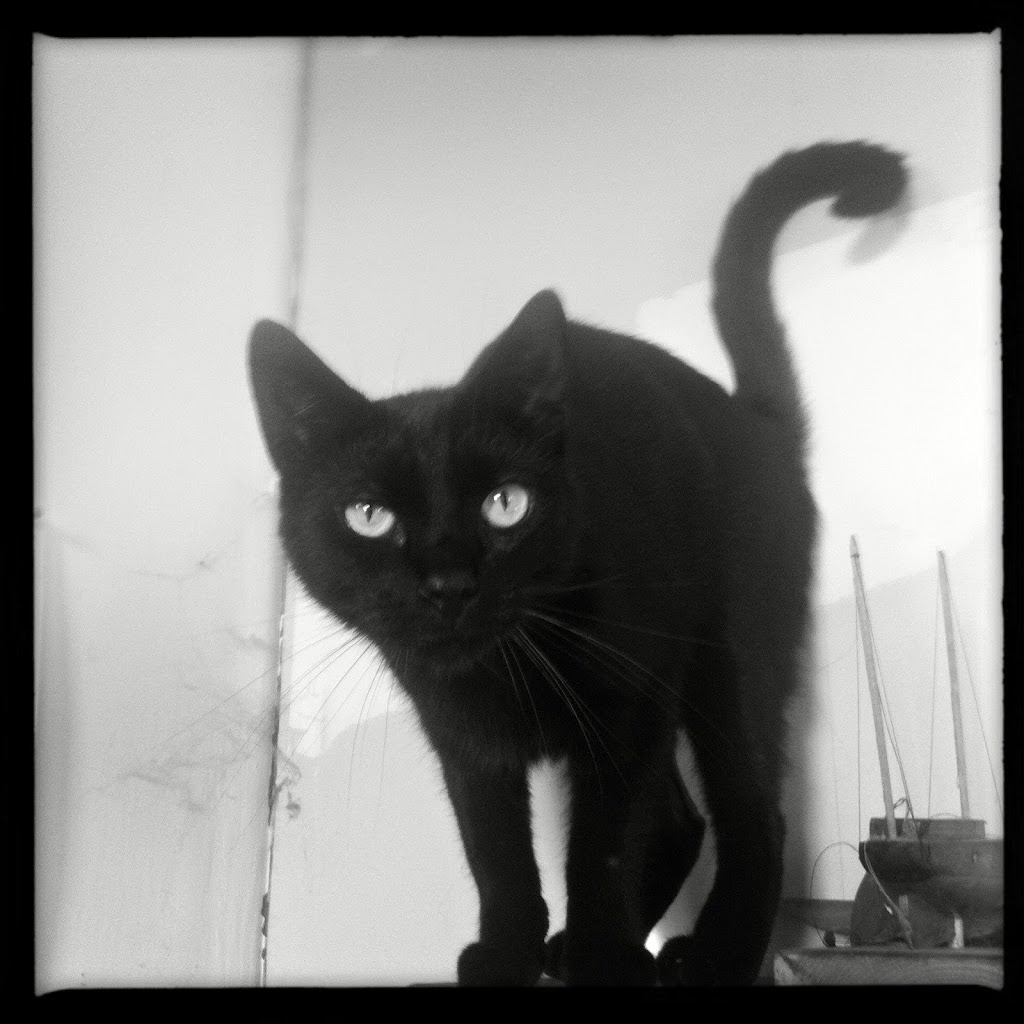
"Cat!@"
A week photographing in the Pacific Northwest

"Ruby Beach Sea Stacks, Washington"
Right then, so about a year ago the lady gets an invitation to attend a friends wedding whom she went to college with out in Washington state, well the wedding was Portland Oregon, the devil's in the details- anyway we made the plan to fly out there for the wedding which was last week and then take a week to travel around and she could visit some places that she remembers and I could geek out with my cam. And for the most part that's just what we did. We arrived in Portland last Friday night after a triple connection flight plan (we really got our monies worth in take-off's and landings!) picked up the rental car and went to the motel. Coincidentally last weekend ended up being daylight savings times' fall back the clock action so the normal 3 hour difference in Pacific time became a 4 hour difference: I was waking up for the first few days at 03:15 am. There's plenty of coffee out there though so waking up early wasn't too bad. Here's a little detail: they have all these little coffee and espresso shacks all over the place that pretty much look like a garden shed that you drive up to and the coffee girl hooks you up and you're off- which is cool cause they look neat and have lots of character, the shops that is.
Ok, so, our itinerary was to attend the wedding on Saturday in Portland, (congratulations Alyssa and Matthew!) and then beginning on Sunday we would start up the Pacific Coast Highway 101 to the Olympic Peninsula. Saturday morning we woke up early (of course since we were still on east coast time) and because the wedding wasn't till 4:00 pm we decided to head due west to the ocean which was only an hour away and the first stop on the improvised photo tour was Cannon Beach Oregon, which is a fantastic location and one that I've heard about for a long time. Here's another little detail: I'd never before seen the Pacific Ocean, and since I was a kid when I used to competitively do windsurfing and used to want to be a sponsored pro and live in Hawaii etc I'd long fantasized about the place. Half a life-time later and a completely different person now my first viewing of the Pacific had me hooting "holy cow!" over and over again. As a primarily seascape shooter now all I wanted to see was those incredible sea stacks that I've seen so many images of- and they are totally incredible! At Cannon Beach (which I can't help but think of as 'Canon' beach) there is a massive stack called Haystack Rock that is according to the Wikipedia: 235 feet tall and has a cave system that you're not allowed in- and it's flanked by "the needles" two sheer spikes that poke out of the ocean to it's left. We poked around the town of Cannon Beach and got some breakfast and looked into some galleries and shops while waiting for the drizzle to abate (there were dozens of photo galleries there- absolutely odd how many there were, (there was even a photo gallery in the local gas station!), and judging by the images I saw there was pretty much one picture to be made here and it was the Haystack Rock shot, so we went out there and did that and it was nice. Here's another little detail: the beaches out there from what I could tell are different then east coast beaches in that they slope so gradually into the ocean that when a wave comes and breaks it doesn't just break and recede- it breaks then just keeps coming and coming and coming. It's a beautiful beach with no rocks and hardly any drift wood and is probably a gorgeous place to beach-out on in the summer. Here's a few seconds of viddy that I rolled after making the Haystack shots:
Cannon Beach Oregon.
This trip for us was a great reward after a hard summers' season of work and Soph and I never really travel much but for the occasional trip to see family on either Cape Cod Massachussetts or down in the Virginia area- I love going to new places and Sophie does too but she doesn't like the flying too much (motion quesyness) personally I love the flying cause I used to want to be in the Air Force so take-off and turbulence are a gas for me! Anyways we planned the potential route we would explore in a fairly open ended way through Google image searches of the Olympic Peninsula, her own experiences in exploring the area when she was in college, and some recommendations from my internet peoples ala Gary Randall http://gary-randall.com/, Patricia Davidson http://www.patriciadavidsonphotography.com/, and this one from Ian Plant: http://www.ianplant.com/blog/2012/10/30/olympic-coast-workshop-may-1-5-2013/, among others. Theoretically I could have done a little better job in mapping out the details but I also wanted to have the feeling of finding stuff for myself. I had a short list written down in my field book that had Cannon Beach, Second Beach, Rialto Beach, Ruby Beach, Third Beach, the Hoh Rainforest, Crescent Lake, and my ultimate goal was "Point of the Arches" at Shi Shi Beach. Cape Kiwanda, Kalaloch, Bandon, the Palouse and other places were on the list as well but it would take weeks to get all that in. Anyways after shooting at Cannon on Saturday and then taking a side trip downtown Portland and then to Olympia on Sunday I wanted to get something "in the can" as it were and here my planning failed me because all of a sudden I confused the "Three Arches" in Oregon for my ultimate destination which was "Point of the Arches" in Washington- oops, so we lost a bit of time Sunday afternoon and ended up staying in Oceanside Oregon for the night which was nice though at a beach hotel with a balcony and a fireplace and sweet off season rates- and I was loving the idea of waking up and walking a few hundred feet to the Pacific to make some photos at dawn, but then Soph got sick. She caught a wicked bad cold, a cold to end all colds, terrible suffering and sneezing and coughing etc ensued, and worse timing there could not have been because this was like day 2 of our 7 day trip! and there was lots to do!- so that sucked. Cough syrup, benadryl, Advil, etc, suffering and more suffering, but I still wanted for us to push on a much as we could so Monday we drove from Oceanside Oregon to Forks Washington through the hometown of Kurt Cobain in Aberdeen and along the beautifully scenic, curvy, and endlessly interesting highway 101. The drive was about 6 hours including some stops- one of which was the absolute worst restaurant experience ever that had me nearly frightened and we should have just run, but we got to Forks around 4:00 pm and got a pretty nice room in a motel in a little town that some movie "Twilight" has now made famous. Soph went right to bed and I asked the motel clerk how far Shi Shi was and she said and hour and a half and with only an hour of light left I was bummed that I wouldn't make it up there that day- and here's where my inept planning failed me again because only later did I realize that Rialto Beach, which was on my list, was only a 30 minute drive down the road! Arg! And there was a nice sunset that day- Double Arg. So I took the night off and had some PBR's and ended up chatting with the guys in the next room who were Salmon fishing, and one of the guys was a Seattle portrait, concert and commercial shooter named Christopher Nelson http://www.christophernelsonphotography.com/ so that was cool- I wasn't going to say anything about being a photographer myself (security concerns) until he said that he has an 85 1.2 therefore I knew he was ok :-)
Right then- so, the next morning we went over to Rialto for dawn and that was a gorgeous beach with huge waves and some absolutely massive driftwood logs lining it. The important thing out there to consider, besides the usual safety first bit, is that those beaches are enormous! They go for miles. And features that I had seen by doing Google image searches I couldn't hope to find unless there were hours to explore it- and there wasn't because the good lady was totally dying with that wicked bad cold. She toughed it out for me while I shot on the beach for an hour and a half or so with some pretty nice skies and cool pebbly beach textures and some sea stacks and crazy massive driftwoods and such then we drove back to town so we could get her some fruits and tissues et al and whatever, saw some elk, got back into "Twilight" land and promptly got pulled over by the police in our rental car for "speeding" on the main street! :-) I was going 33 in a 20 zone :-) whatever. The guy was nice, he realized I was from Maine and had that understanding that us East Coasters move around a little quicker, and let us go with a "slow down Mr. Parker" bit. Dropped Soph at the motel for a day of resting and cable tv and I was off to go shoot Shi Shi!
Rialto Beach Washington.
I was so attracted to the amazing sea stack images that I was seeing from searches for Shi Shi Beach and the "Point of the Arches", just out of this world another planet-like looking environment. The best time to shoot that feature I learned would be at low tide to catch the texture in the rocks in the foreground and late in the day for sky contrast. But I ended up driving there through downpours of rain on a fairly flat and gray day along a super twisty coastal road (rte. 112) through the little town of Neah Bay where you purchase a park pass for 10 bucks that comes with a map and a parking pass and Shi Shi is about 15 minutes further on. That whole area could provide enough photography for weeks of discovery just in itself. Arrived at the parking lot at the trailhead @11:00, put my Muckboots on and hit it. Here's another little detail: my tripod for this trip was the unfortunately massive and heavy aluminum Manfrotto 3036 which is a studio tripod. My regular tripod, a standard Manfrotto from the 70's needs the leg locks replaced and where I intended to get that done before the trip, I didn't, so I was stuck with the 25 pound 3036. Which is fine and excellently dependable and ok to carry for a little while- but this Shi Shi excursion was going to prove to be epically difficult to negotiate with a backpack full of gear and that big lunker over my shoulder. Here's the deal: the trail starts out nice and easy enough on a beautiful red cedar boardwalk that cuts through old growth rainforest. After 3/4's of a mile or so the trail deteriorates into a muddy old logging road that you often have to slog through 10 inches of standing water and mud muck for the next 2 miles, which would be fine to just hike along, but carrying that freeking tripod the whole way by the end of the day started to feel like carrying a telephone pole! Yeah, so after realizing how long it would take and how much effort it would be just to reach the beach, I pretty much wrote off getting to "Point of the Arches" which on the map was way at the far end of Shi Shi which, it was becoming obvious, a huge beach. See the thing is, is that I didn't have all day- I had the rental car of course and Soph was stuck back at the hotel room trying to get over that cold- so I should get back in time to get more nose tissues for her or stuff and things like that and go get supper etc, that and the hike out to the beach was turning out to be more like an hour in itself. Therefore when I finally got in sight of the ocean I was becoming really anxious to get down to it and wanted to get shooting right off, so when I saw the rope- impatience won out over wisdom. 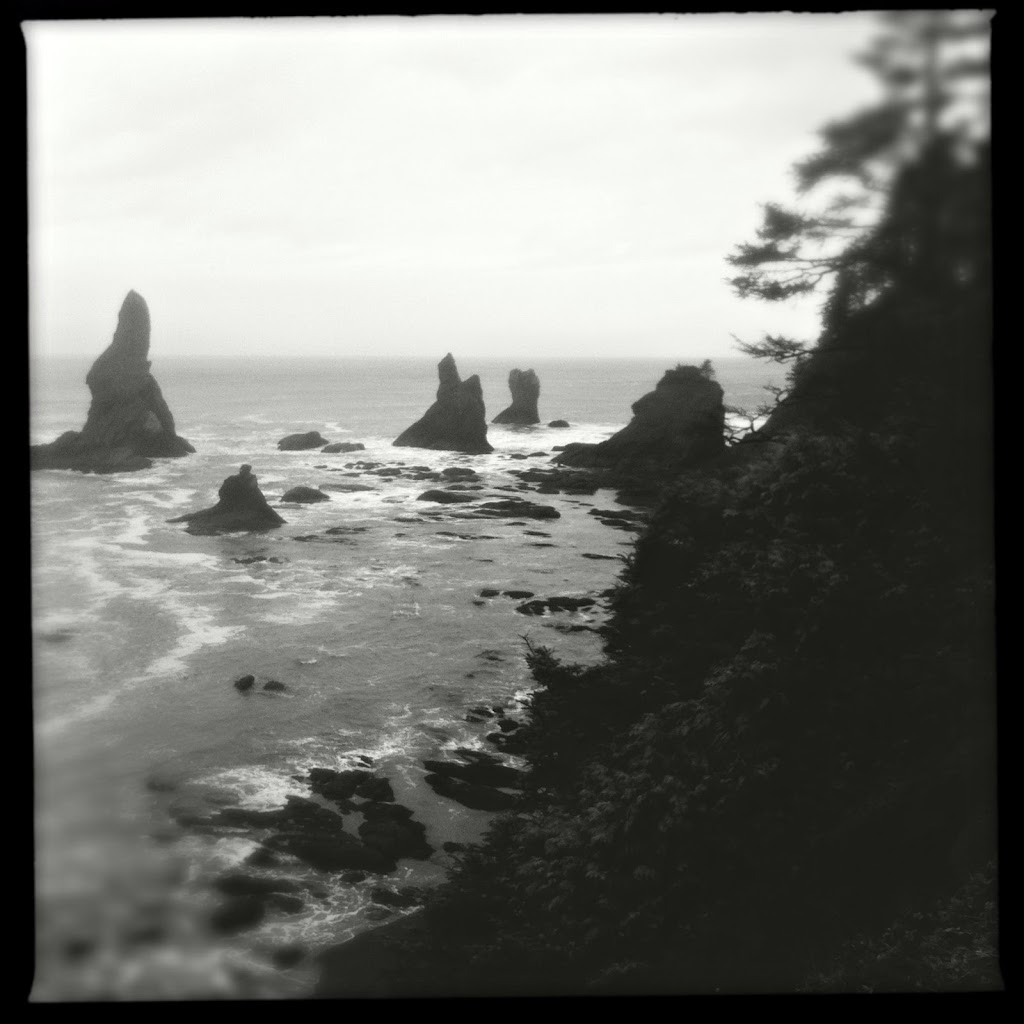
this was the view half-way down the cliff.
I'm not proud of what I did, and I certainly don't intend to be bragging- and really it was pretty foolish to follow a thin nylon braided rope hardly thicker than parachute chord down a sheer, muddy, 75 degrees steep 150 foot tall embankment that I couldn't see to the bottom of, carrying a 60 pound tripod (that's right, now it weighs 60 pounds) and 25 pounds of camera gear- but look at that view! And see those rocks in the water to the lower left- that's where I set up to shoot. Obviously I made it. It's all part of the adventure, and it wasn't that rash of a decision- I did think about it for at least a minute. 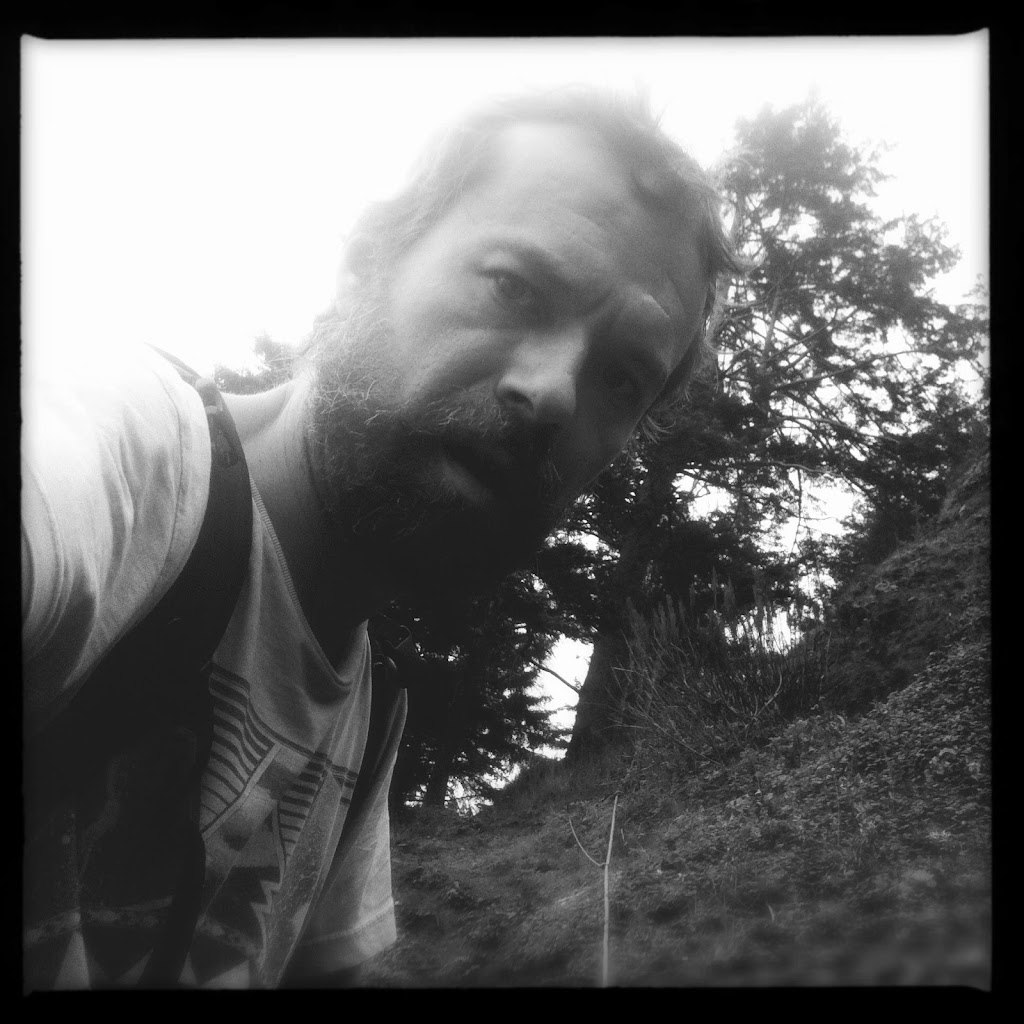
This is me amassing one high score for stupidity at Shi Shi beach Wa.
Well it was completely worth it. The sea stack structures there have such a wild character where they curve like they were peeled out of the crust of the Earth and huge waves crash over them. There was what I thought was a seal napping on his back in the cove but later Soph said it was probably a sea otter, there were caves along the base of the cliff and tide pools with urchins- the place was totally amazing. 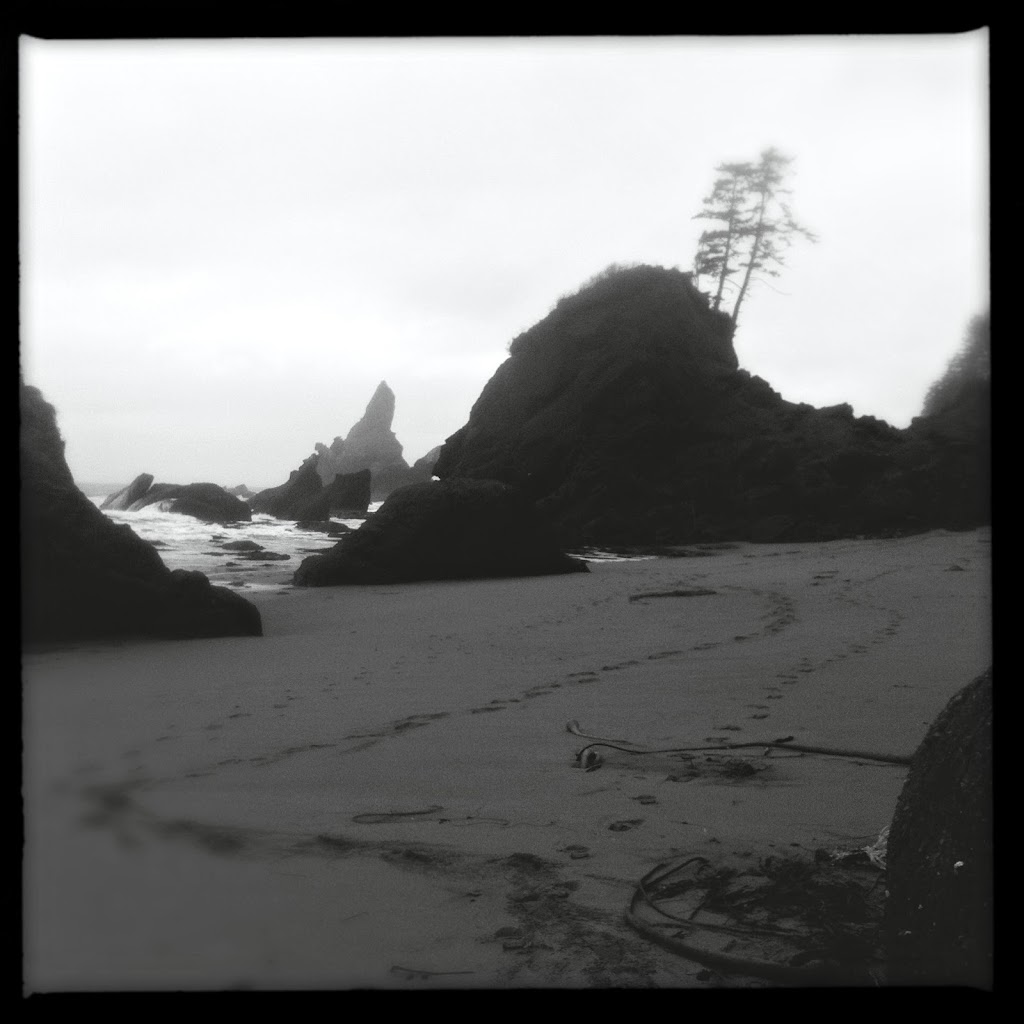
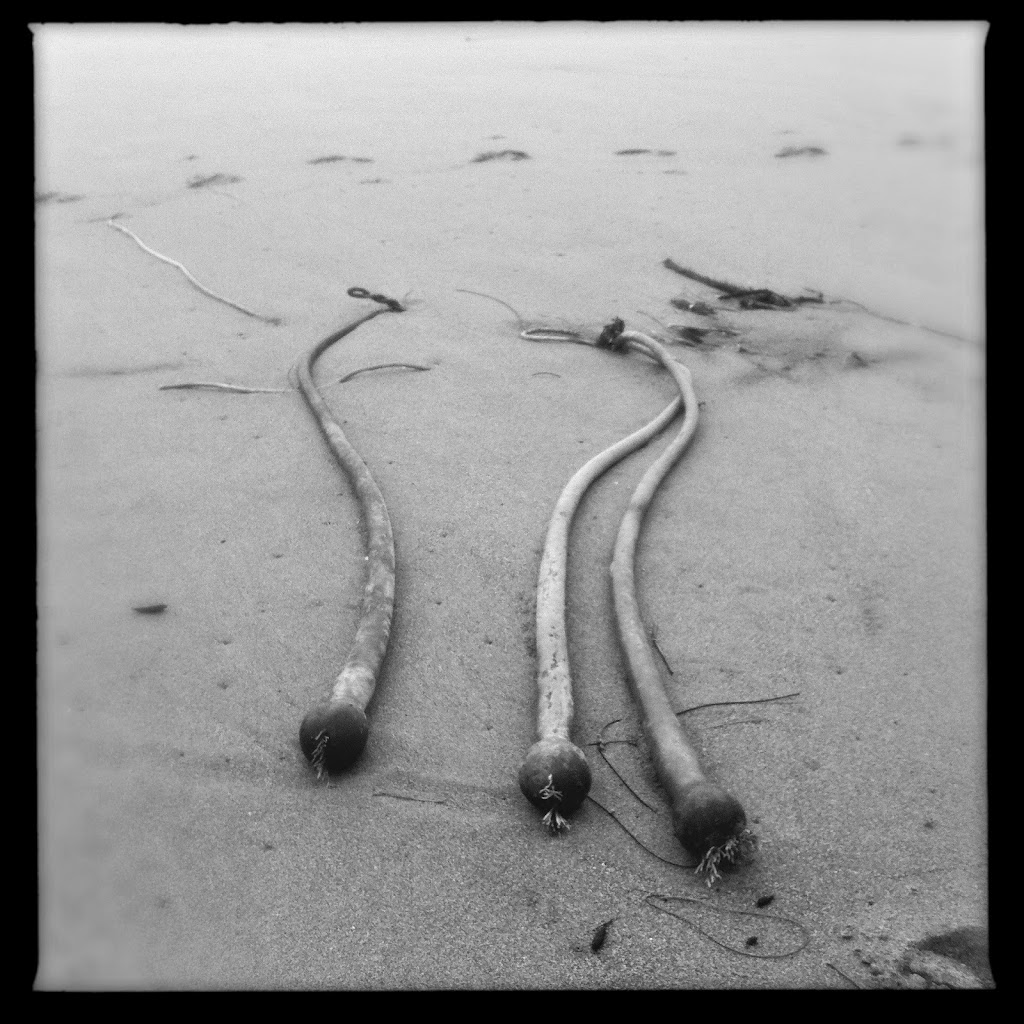
Shi Shi giant sea tubers
Shi Shi Beach Washington.
Ok- there's one more part of this story that makes it even more ridiculous. After photographing there at Shi Shi for just about 2 hours I figured I oughta get on back to poor Soph at the hotel and made to look for the exit and then I saw the only other person out there that day walking towards an opening in the tree line along the beach up aways so I went in that direction- there the path led up through some dense trees and I saw the persons pack and walking sticks leaning against the cliff and in front of me there was a steep fern covered hillside with a thin trail leading up it that looked more like a wash than a trail so I went to go meet the person and ask where the way out actually was- as I came around a corner, about 40 feet away was the lady hiker just getting up from an improvised toilet that was set off the path and I got all embarrassed and turned back and made some noise and looked the other way and figured she didn't see me and I walked up to her anew and said hello and asked if that steep path that I was looking at was the trail out (-I didn't bother to offer to shake her hand), we talked for a bit and she said yeah that's it "it's easy"... I hung my head and she was like "oh yeah, this is the Pacific Northwest-" whatever, I said good bye that I should be moving on, and set about clamoring up that bank. Pretty much as steep as the one I came down, but without a rope this time just using ferns as handholds occassionally I scaled this one which was 150 feet tall if the other one was. About a third of the way up I had to start resting and half-way up I was cursing myself for coming here. At the top I was thanking god for saving me for another day and breathlessly trembling after another most ridiculous test and making Iphone pictures of how steep this was when the lady who I was talking to only a few minutes earlier came walking up the trail that the fern cliff washout that I had just scrambled up connected to and said "you'll have to come back someday!", and I was like (in my head) Whot the HEdoublehockeysticks! So I went to look and only a hundred feet or so up the way was the main path and an easy switch back trail down to the beach- so I don't know what that was all about: if she was mad at me for ruining her bathroom moment or she just wanted to plain kill me out of malevolence or if it was just some kind of miscommunication but that was really an "icing on the cake" moment. O my word!
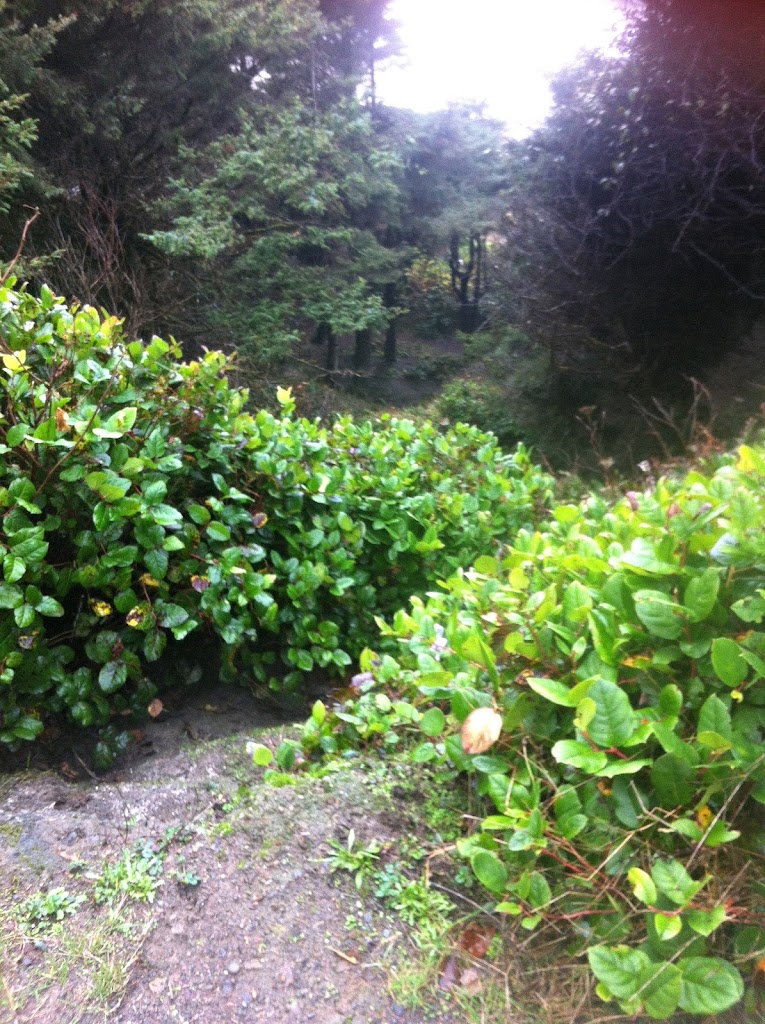
I wish this could give you a better idea of how ridiculous this was-
Long story short- it was an unbelievably inspiring landscape to put my camera in front of out there. The Pacific Northwest in a lot of ways feels just like Maine, except maybe more like how Maine was when dinosaurs walked the earth. All summer long I've been wanting to get off the island and make some pictures of a new area and this trip certainly was what the doctor ordered in that department. The problem is is that instead of perfectly sating me with the experience- now I want to keep going! Iceland is next! Hopefully!
Sophie's getting better now, but now I've got the cold, and it's nice to be home. Oh and one more thing- the last morning we were out there, in Seatac next to the airport, the hotel caught on fire! The hotel actually caught on fire- the alarms were going off and I heard it from across the street where I was filling up the rental cars tank to return it- so I rushed back and ran up the steps that all the sleepy people were coming down in their pj's and on the first floor landing thick smoke that smelled like burning plastic was pouring into the stairwell so then I actually got legitimately worried and ran up to the third floor where we were staying and found Soph who had my camera bag with her coming out into the hallway and we quickly gathered up the rest of our junk and "checked out" a little earlier then we were expecting: a complaint call to them will follow concurrent with publishing this- so that was a mighty crazy way to end the week heh!? The hotel caught on fire!
Here's a couple more images from what I've been working on- 
"Haystack Rock at Cannon Beach Oregon"

"Shi Shi Beach Sea Stacks"

"Ruby Beach Sea Stack" --Just Realized I Over Dodged This- I'll fix it later-
 "Rialto Beach"
and here's something completely different but I really like this one- 
"Fog Swing" Oceanside, Oregon.
It's said that traveling is better photographic value than buying new gear, and now I would definitely agree because my batteries are freshly charged with amazement at the world, I've still got to get an 70-200 f/2.8 but that aside I'm looking forward to going somewhere new and amazing again soon! Right then, have a good one and thanks for stopping by -Nate.